Woodcarving a 2D Easter egg
Published on: March 15, 2024
Reading time: 3 minutes
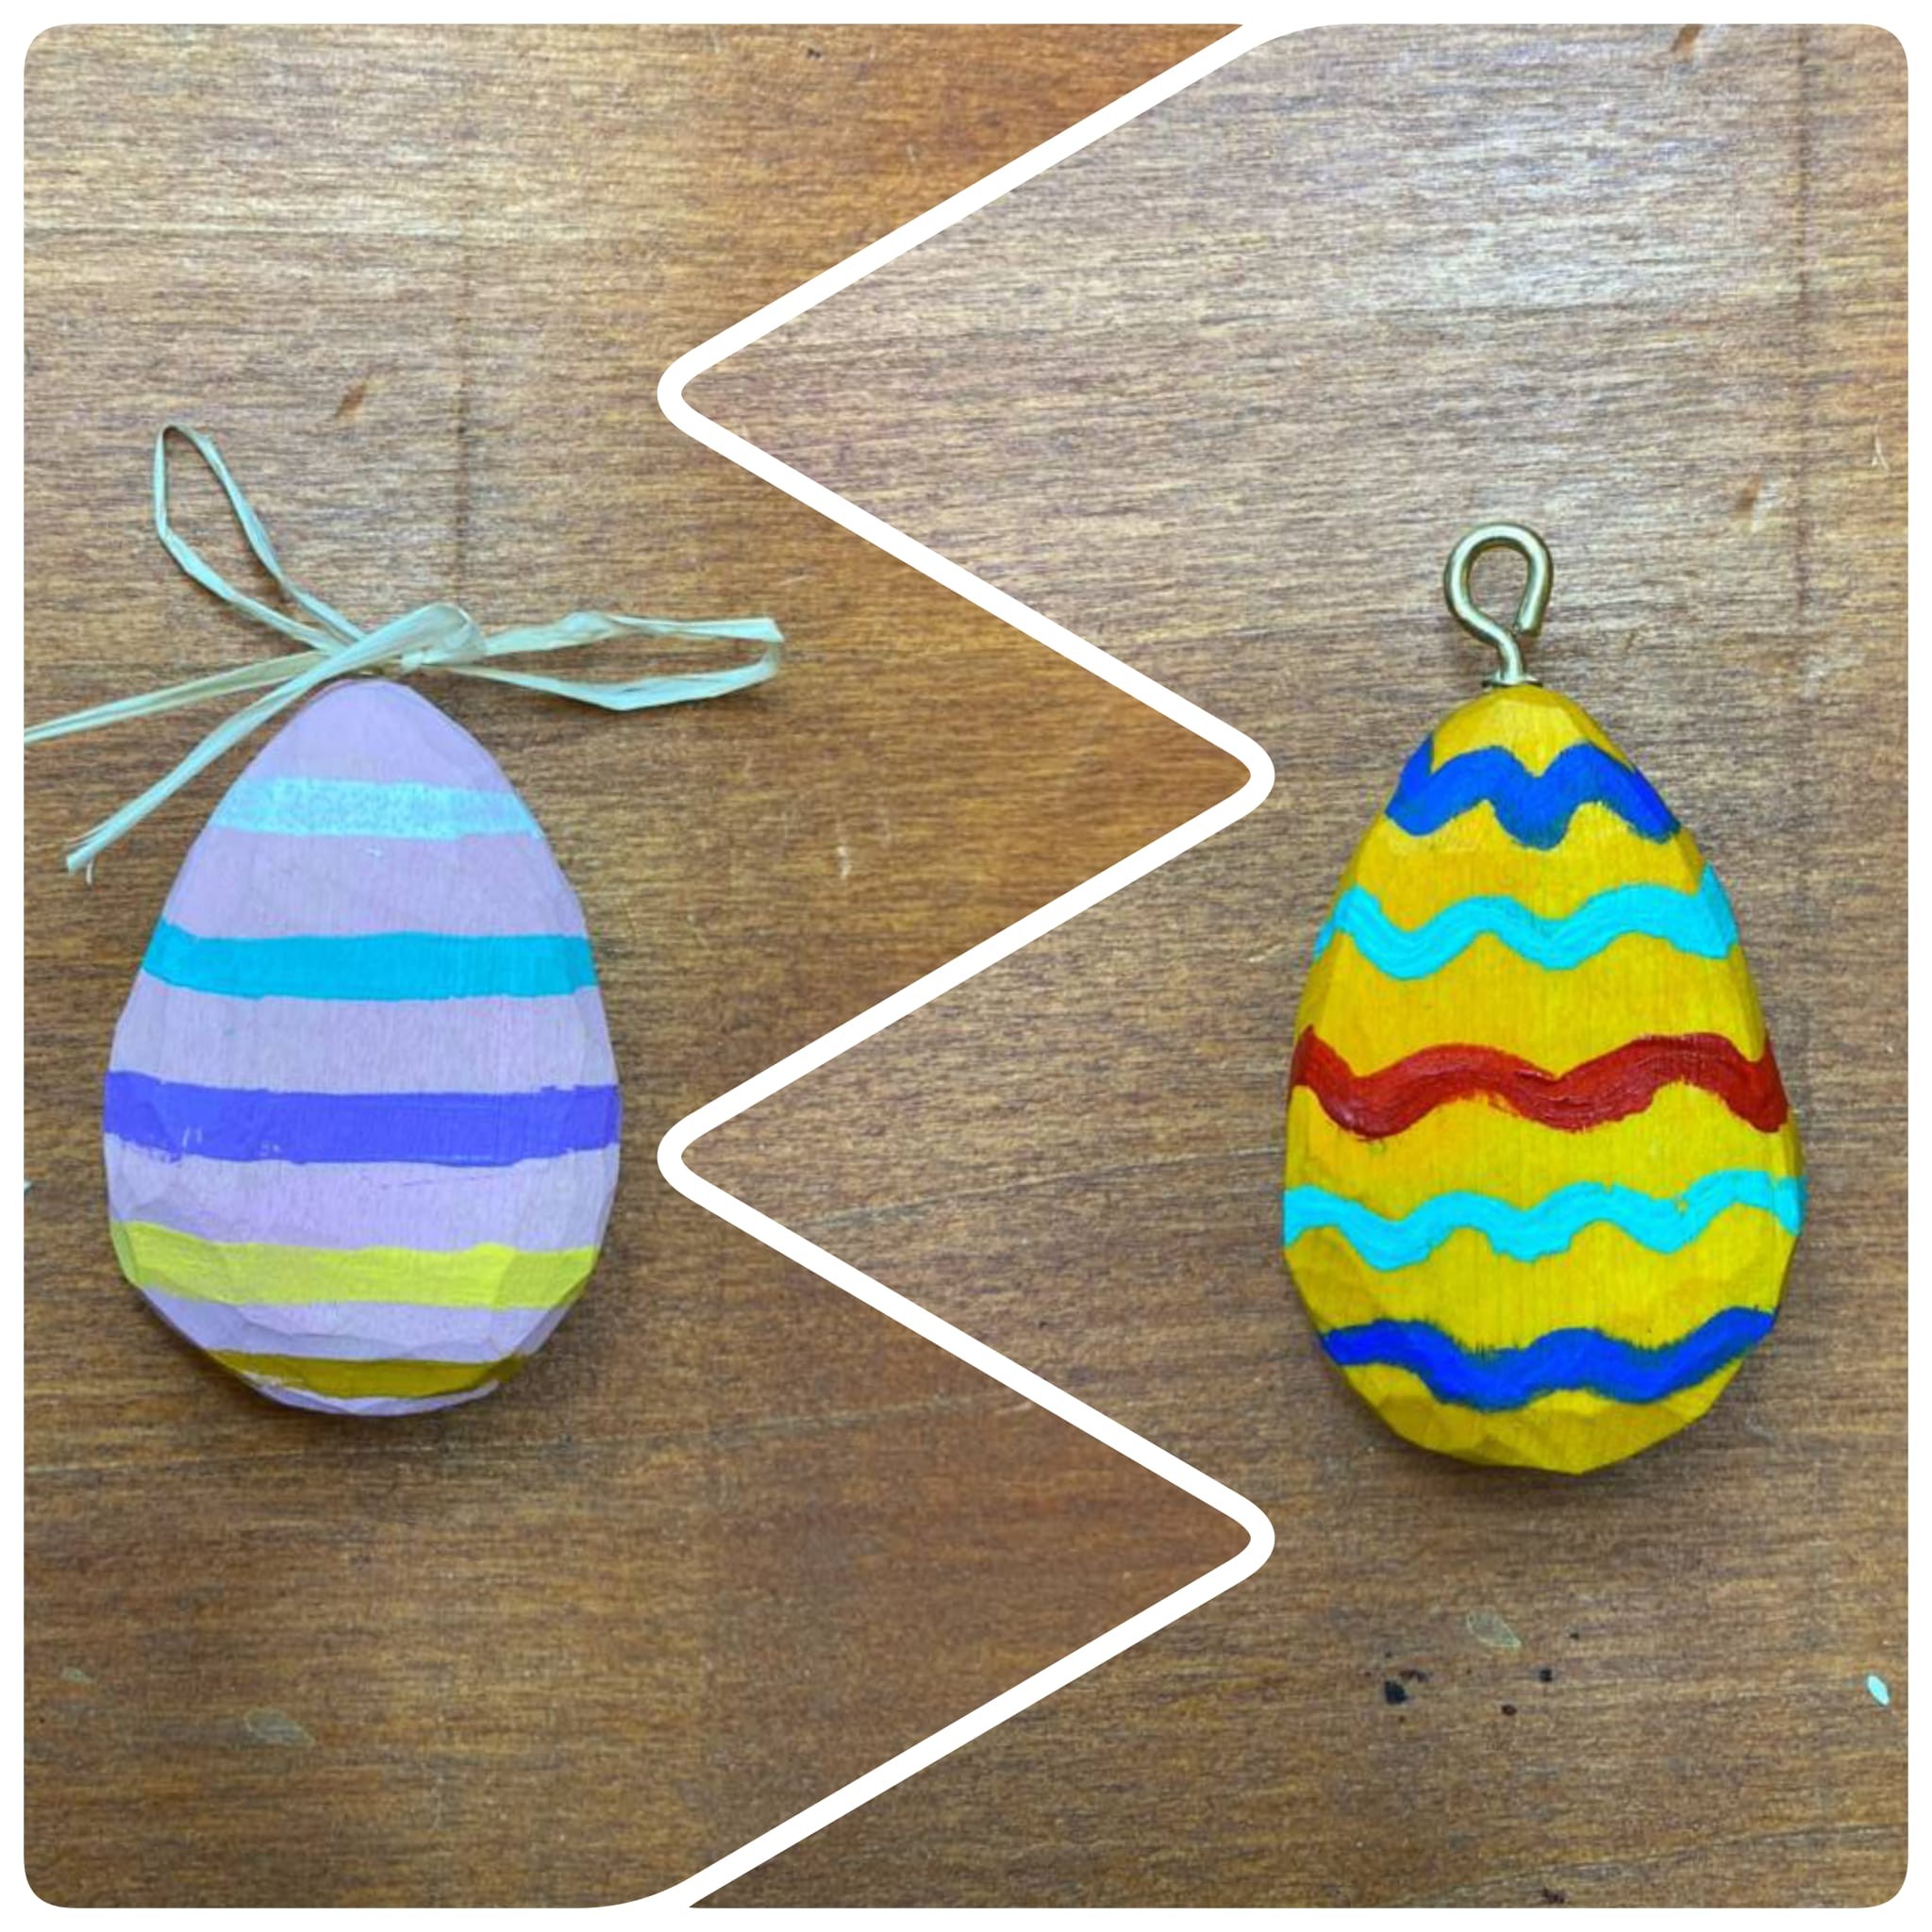
Hello everyone here we are back to a new appointment with Takahama! Easter is fast approaching and as usual you are late on creating the little gadgets you wanted to give to friends? Don’t worry! In this article you will find a quick and easy solution to your problems, so let’s get going! Let’s see how to woodcarve 2D Easter eggs.
As they say: of necessity virtue. This last period I have been busy with so many things, and when I realized that it is soon will be Easter, I came up with a solution that would combine speed and effectiveness.
The project is simple and within anyone’s reach and you will see how in no time you will have in your hands many beautiful wooden eggs to give to your friends, let’s see how:
Preliminary Phase
Gather the necessary materials
- Wood about 1 cm thick, 6/10cm x 5cm high (for a finished egg of about 5.5cm)
- Band saw or scroll saw
- Sandpaper
- Acrylic colors
- Brushes
- Protective wax
- Magnets
- Eye hooks
- Glue
- Easter egg template
Preparation of the Pattern
First we create a template, which is a model to be drawn and brought back onto the wood. There are different ways of doing this process, I for repetitive processes, like to create a shape and laminate it.
So we go on the Internet and look for pictures of stylized Easter eggs, print, put in the special laminating paper and run it through the laminator.
This process will give us a smooth, firm, rigid paper that, once the subject is cut out, will last over time and will be good for multiple uses.
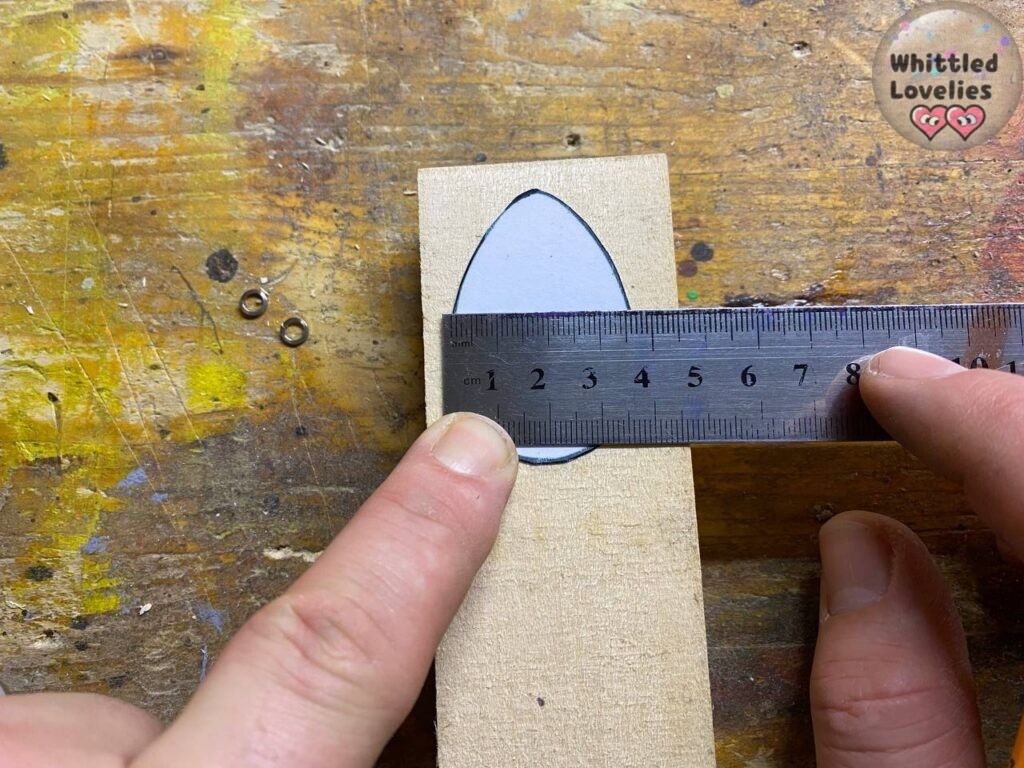
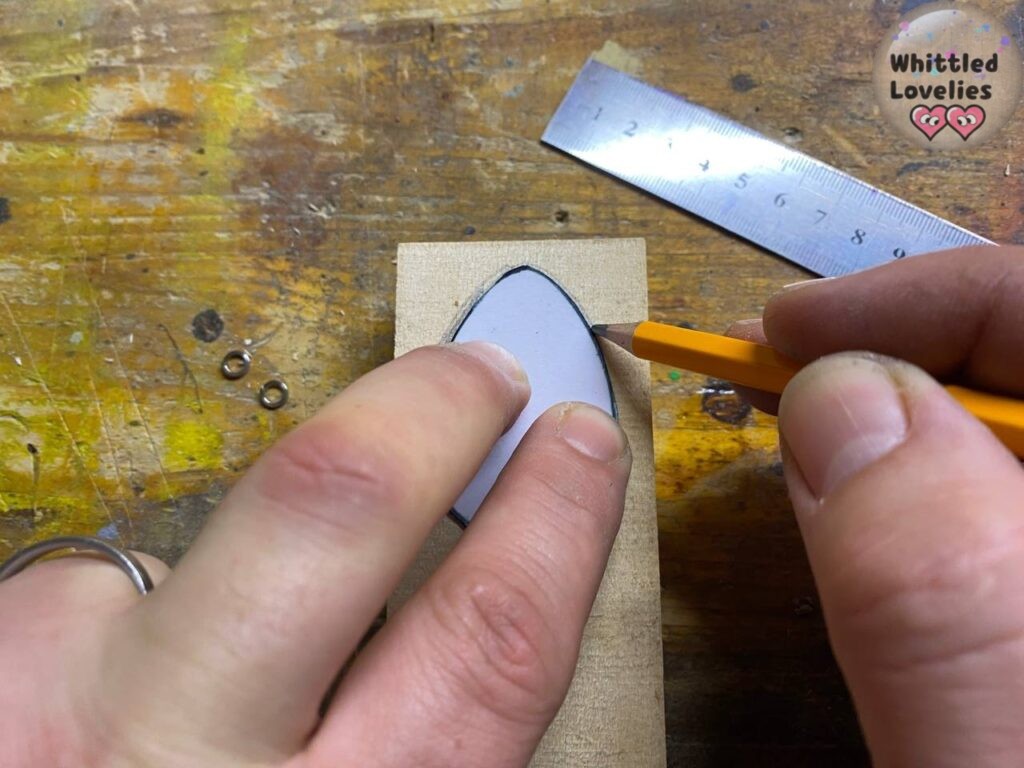
We center the plasticized, cut-out egg on our piece of wood and mark the edges with a pencil. If anything is unclear to you, I have created a video on this very topic:
Creation of the 2D Easter Egg
Tracing, cutting and carving
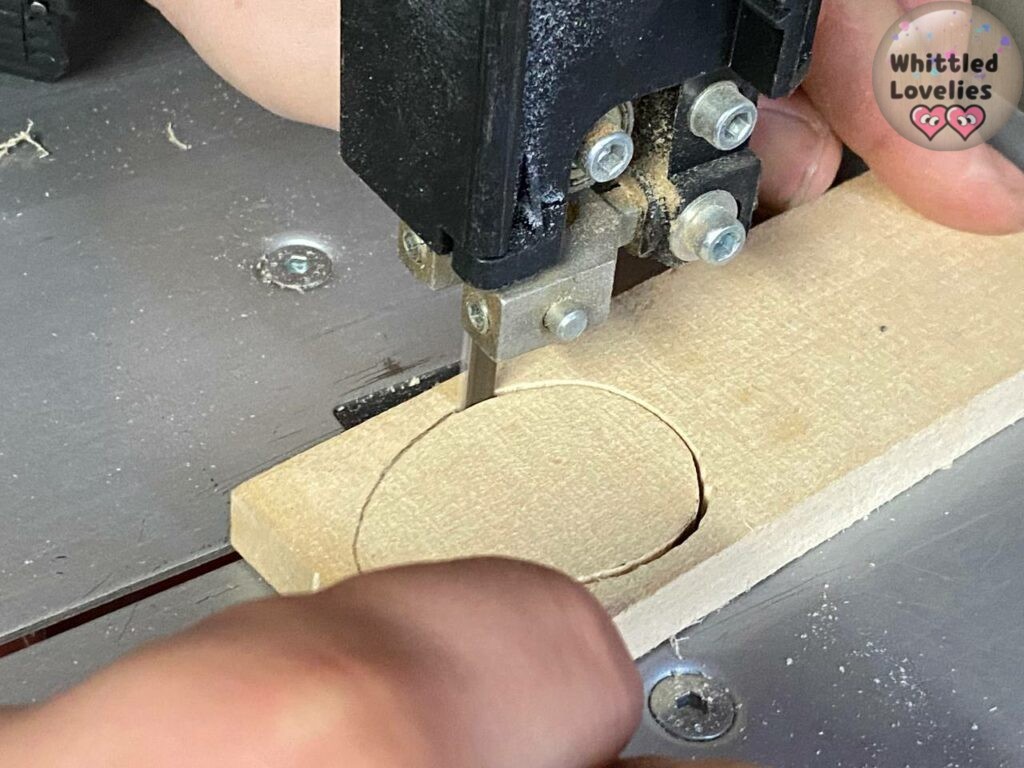
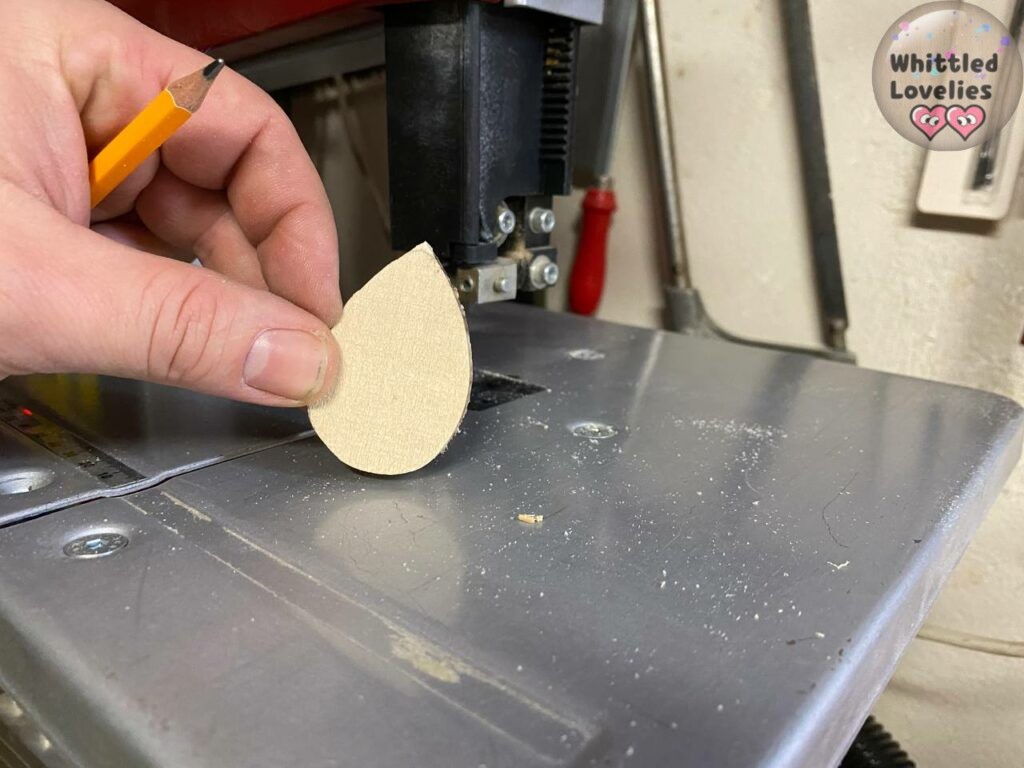
Once we have traced the shape of the egg on the piece of wood, we switch to the handy band saw (or scroll saw) and cut out.
Having made the cut, we can move on to the most fun phase, which is woodcarving!
We round the edges and try to create a relief effect by leaving higher in material toward the center and thinning more toward the edges. You will see in very few knife strokes, what a beautiful effect!
Possibly use some sandpaper to further smooth the work, and let’s move on to color.
Easter Egg Decoration
Basic Painting and Design Creation
With diluted acrylic paints, we begin to decorate the eggs according to imagination.
If you want to do layered designs always remember to let the colors dry thoroughly between coats.
Once well dried, I used a protective and nourishing wax as a finish.
Turning 2D Easter Egg into Magnet or Keychain
Here we are at the end of our very quick project! Although already such a carved and colored egg is eye-catching in itself we can go further and turn it into a keychain or a magnet to put on the fridge!
Just buy eyelets and attach them to the egg tips or create a cove behind, or simply attach a magnet in relief, nothing could be easier!
I hope you also enjoyed this project, I greet you until next time!
These 2D Easter eggs are really cute and super simple! It only takes a couple to make a party right away, nice idea Takahama!
Guys, we, meet back here on time in a month to talk some more about wood, carving and whimsical projects! Bye, Happy Easter and don’t miss out on new ideas in other articles in the Creative Ideas category! 😘🎉
This is an article written by a human for humans!
All articles in the blog are written by me. No contributors, no people paid to write content for me.
Posts written by guests or friends of the blog are marked under the title with the words “guest post.” These are friendly collaborations, contributions to the carving community.
No AI (artificial intelligence) support is employed in the writing of blog articles, and all content is made with the intent to please humans, not search engines.
Do you like my content?
Maybe you can consider a donation in support of the blog!

Click on the button or on the link Ko-fi to access a secure payment method and confidently offer me coffee or whatever you want!
From time to time, in articles, you will find words underlined like this, or buttons with the symbol 🛒. These are links that help deepening, or affiliate links.
If you are interested in a product and buy it suggested by me, again at no extra cost to you, you can help me cover the costs of the blog. It would allow me to be able to give you this and much more in the future, always leaving the content totally free.
