Tutorial:
the Easter Bunny
Published on: March 15, 2023
Reading time: 5 minutes
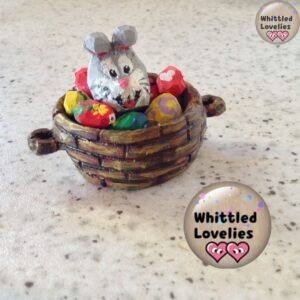
Good morning and welcome back! How about it? Do you feel like creating a really simple Easter decoration today? You will see, it will be worth it! So, let’s see together how to create the Easter bunny!
I had already prepared the article for this month but suddenly I realized… geez! 😱 It’s almost Easter!!! So I took action to make holiday tutorials a habit, and here we are with the new Easter project! 🎉
Of course, if you haven’t already made it last year the rabbit hole project is still valid, but this year I experimented with this idea so that it is super fast and really for everyone, especially beginners.
Having a specific purpose such as wanting to impress family or friends with a gift or decoration is the best way to start as this drive gives us the determination not to give up! So let’s see now what we need and get started!
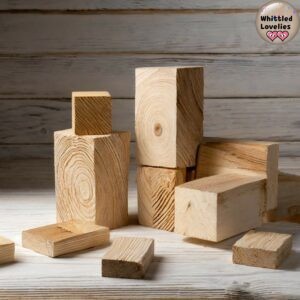
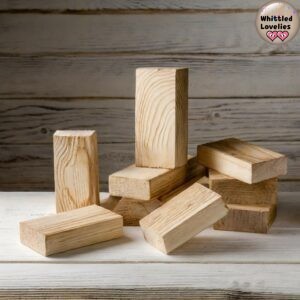
Materials, costs, and estimated time
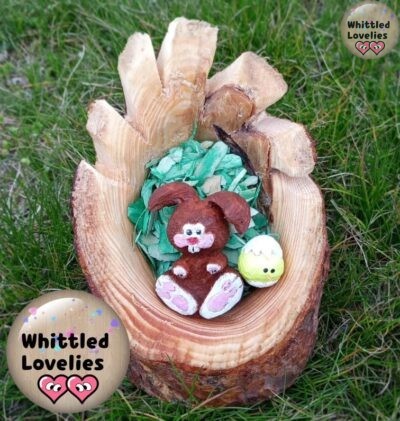
As you may have noticed from the featured photo near the title of the article, we are going to recreate an old-fashioned type basket made of wicker, decorated eggs, and a cute Easter bunny peeking out of the eggs! So :
Let’s start with the basket!
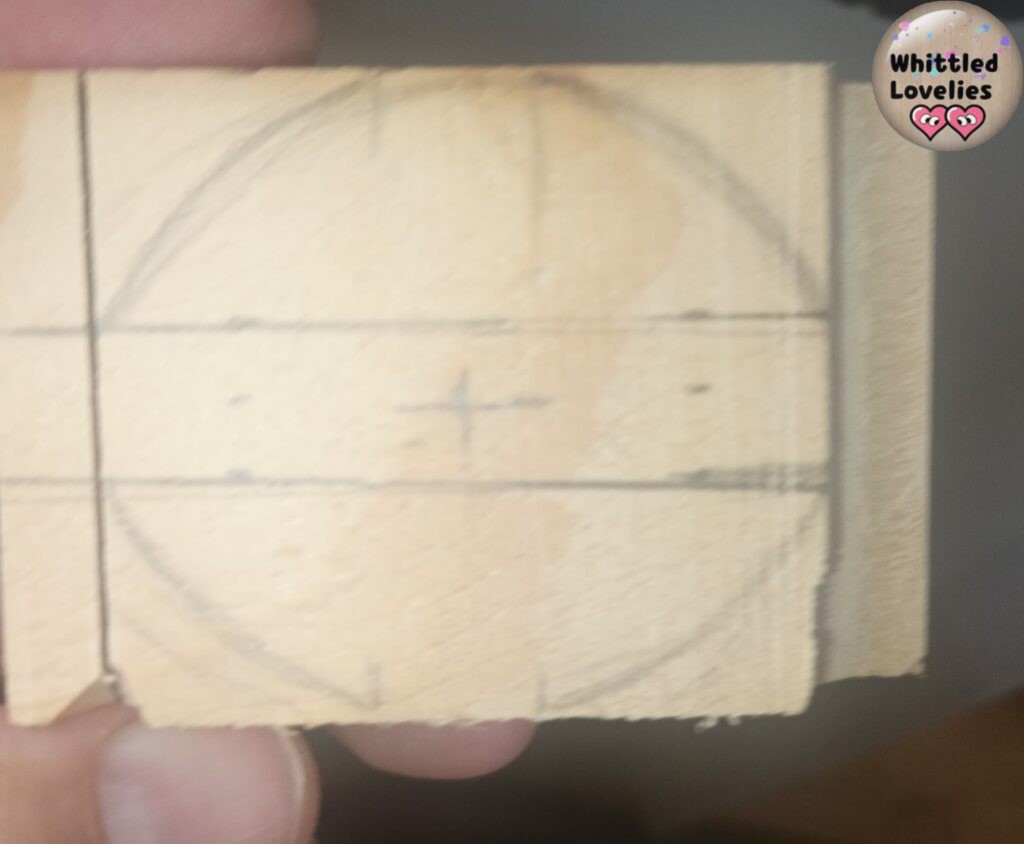
Let’s take a portion of our wood block, then prepare a 7×5 cm rectangle 2.5 cm high. Obviously these are approximate measurements, I preferably make miniatures so all my works are tiny, you can adjust the measurements to your liking!
We proceed to draw a sketch of the basket including the handles (about 1 cm). From the wide side we draw a rounded shape tending to the center and handles, as in the photo.
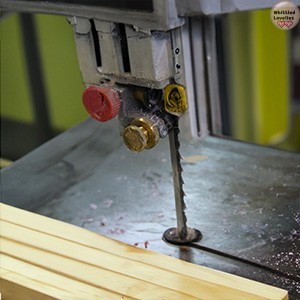
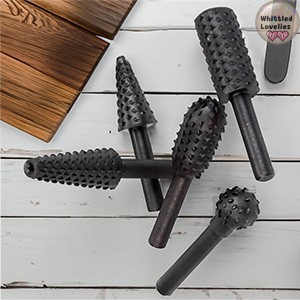
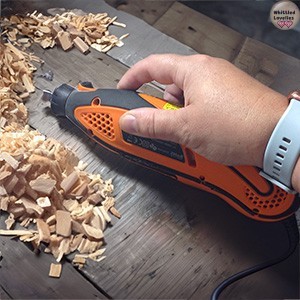
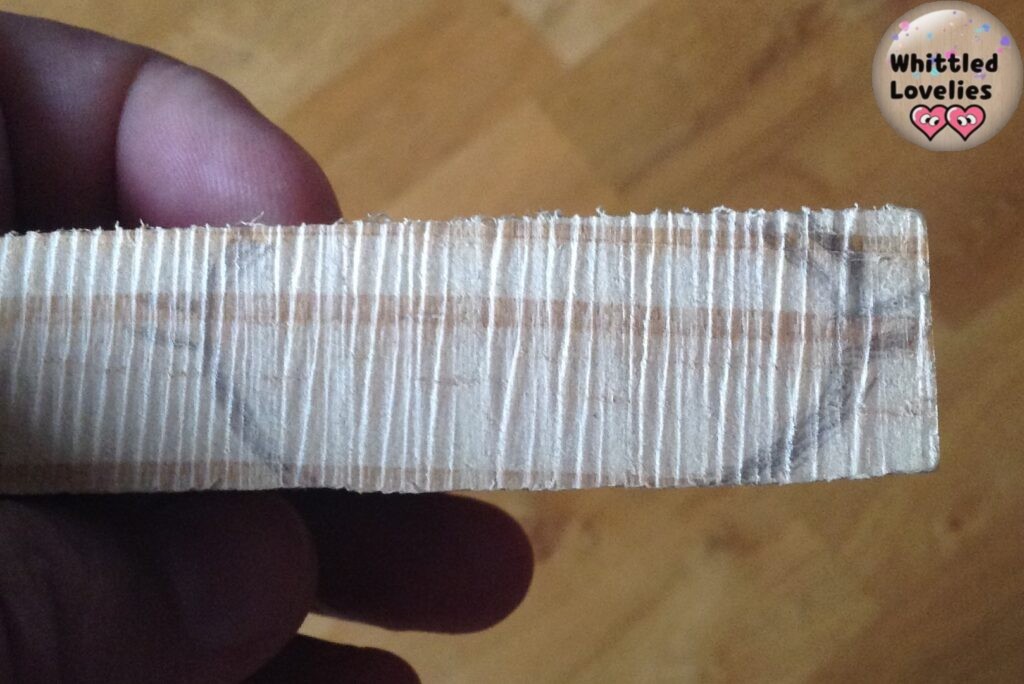
Now we are ready to rough out the figure with a knife, a dremel and a wood router, or a band saw if you own them. But there is very little work involved, and even with just a knife it goes fairly quickly.
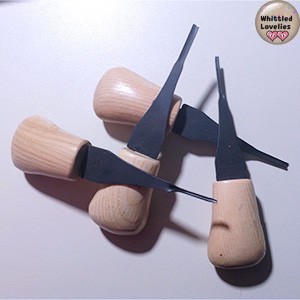
Once we have cut out the basket externally we proceed to create the handles by helping to make the hole with palm gouges, I used the 2 mm size.
Now let’s dig in!
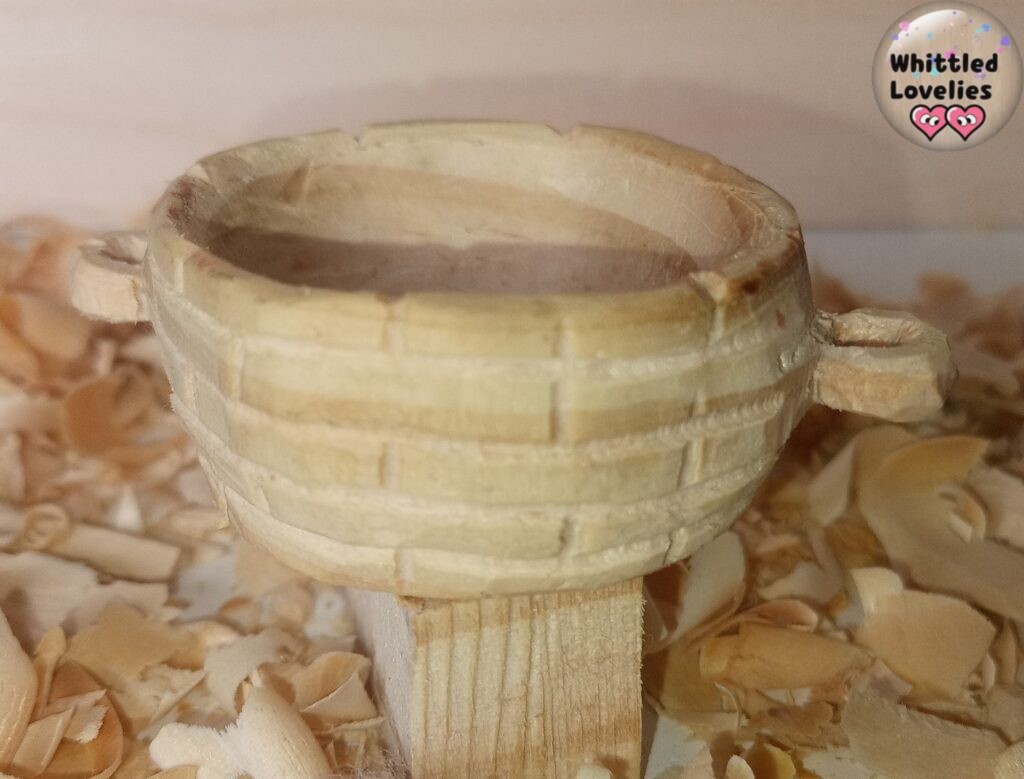
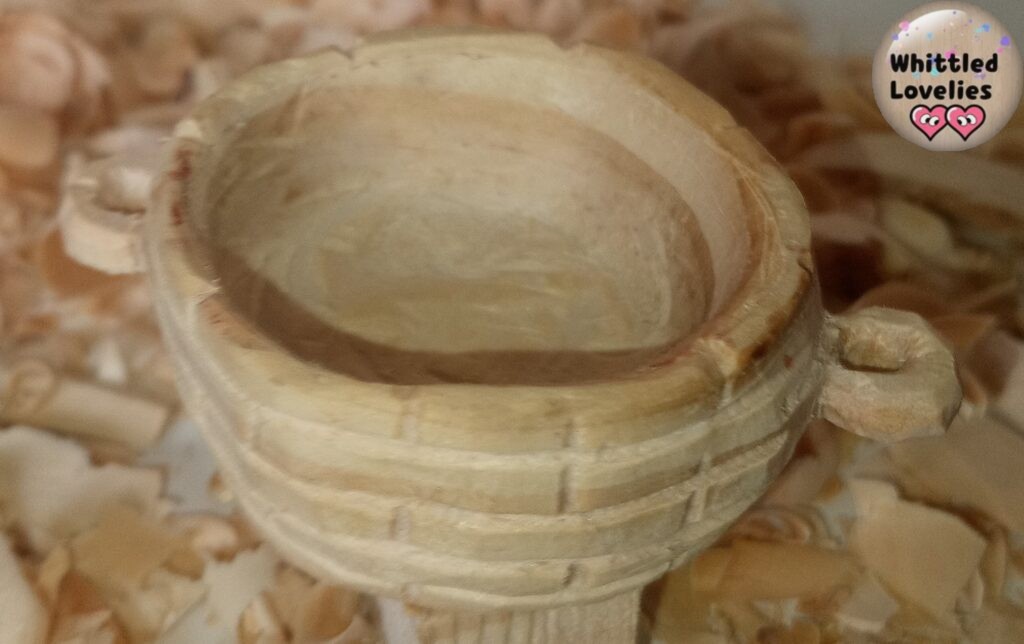
Now comes perhaps the longest part, which is to carve out a cavity, the inside of the basket. We start by cutting a few millimeters inside, which will be the edge of the edge of the basket. Here the digging options are many let’s see them:
- With a specific knife for carving spoons
- dremel and wood cutters
- small but not palm-sized gouges, to be used with a hammer
- series of cuts with a detail knife
I opted for the first solution, they are all fine, the one I don’t recommend is only the last one because it would result in a very scaled effect and at the time you want to round the knife will not have much ease within the depth.
When we are about to reach the bottom we check the depth well with a ruler to avoid digging too deep and making the whole basket structure too weak.
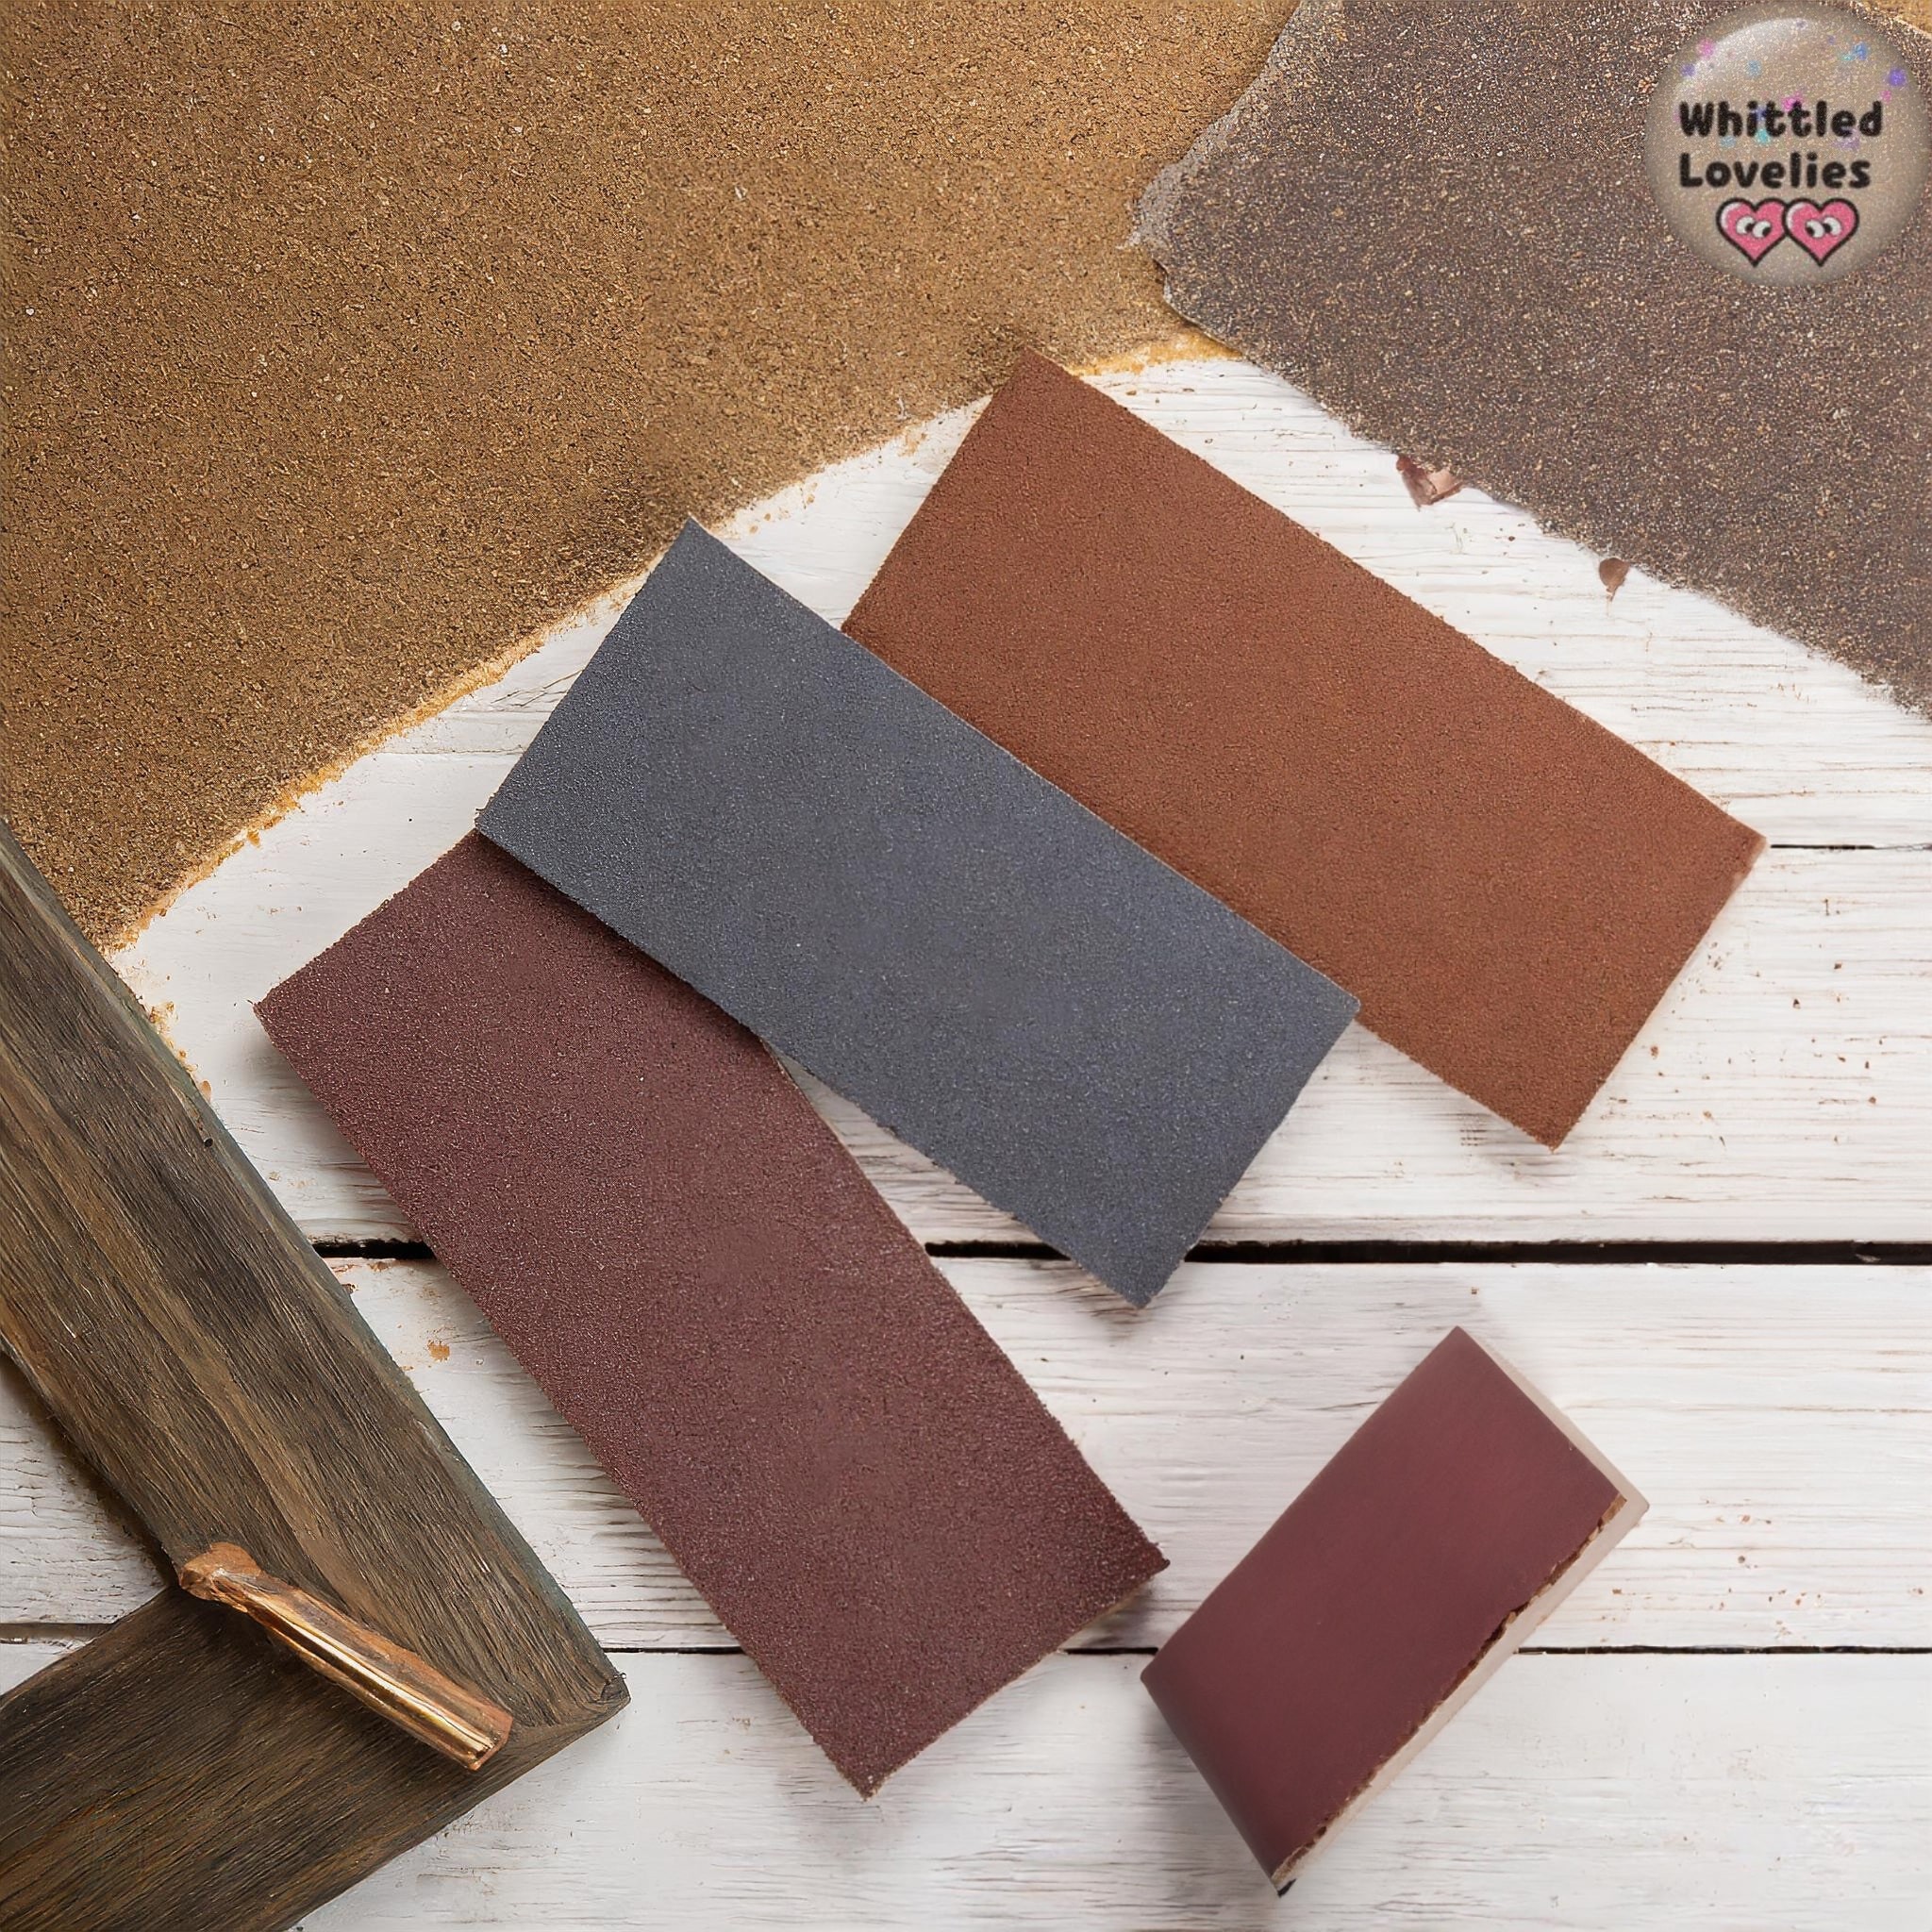
A good wipe with sandpaper will fix all imperfections, but remember that it is not necessary to be very precise. The interior will be completely filled in and out of sight.
We make lines (even not exact lines) all around the basket to create the effect of knitting the basket, which was done by hand with strips of wood. Then make alternating vertical lines.
Let’s move on to the creation of the Easter bunny
The most complicated part is done! We can devote ourselves to making eggs from small scraps of wood. Again from a scrap we stylize the Easter bunny’s head, I decided to make the ears folded, you can decide to make just one folded or both raised, as you like.
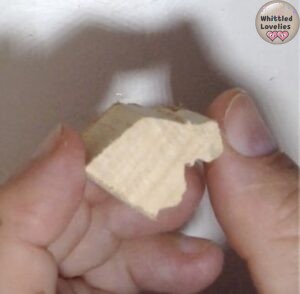
Consider leaving a bulge where the snout will be carved. Again we proceed to rough out the figure with a knife. We leave on the tip of the protuberance the little nose, underneath two round cheeks, the big teeth and the open mouth.
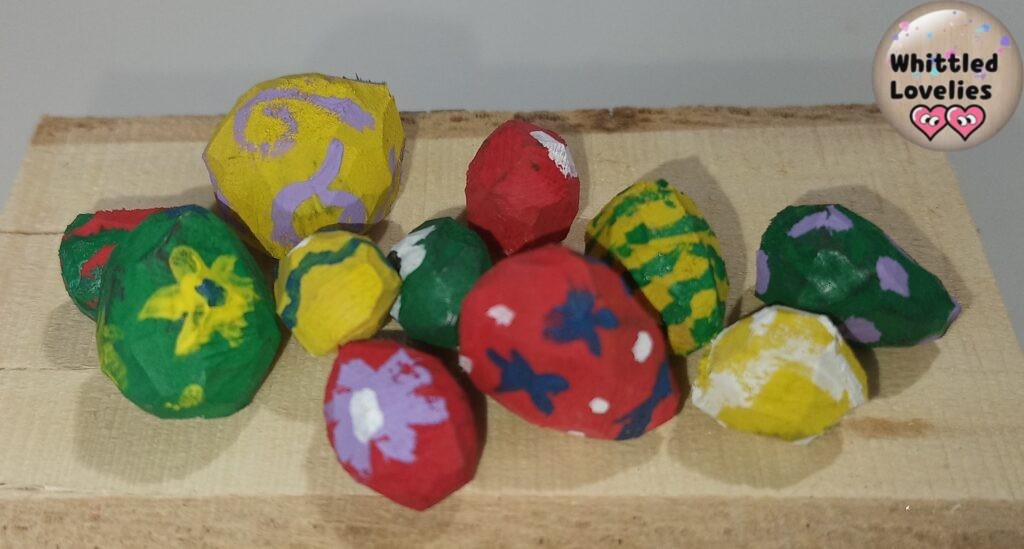
Now that we have made all the pieces we test the basket to see if there are enough eggs or if we need to give more. I made 11, of different sizes.
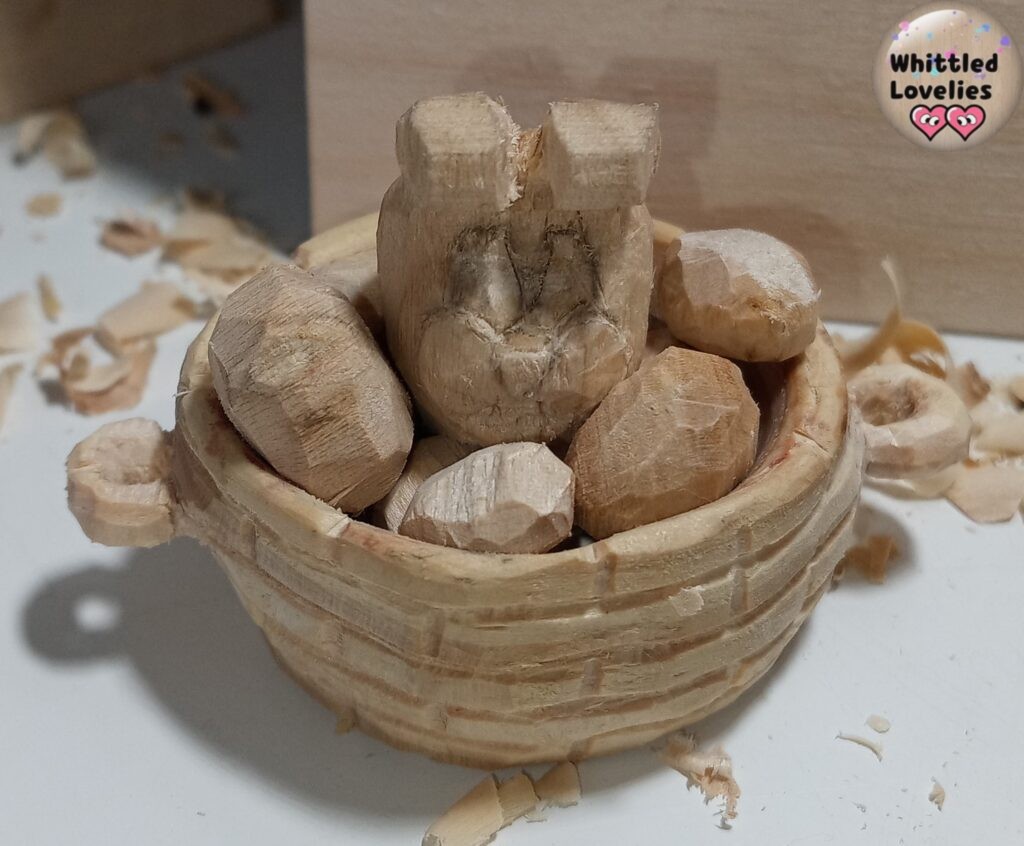
Guys this is it! Let’s color and we’re done! It was easy wasn’t it? The Easter bunny’s head pops out of the eggs and this idea allowed us to avoid creating the whole body as well so I made the project affordable for really anyone!
The color
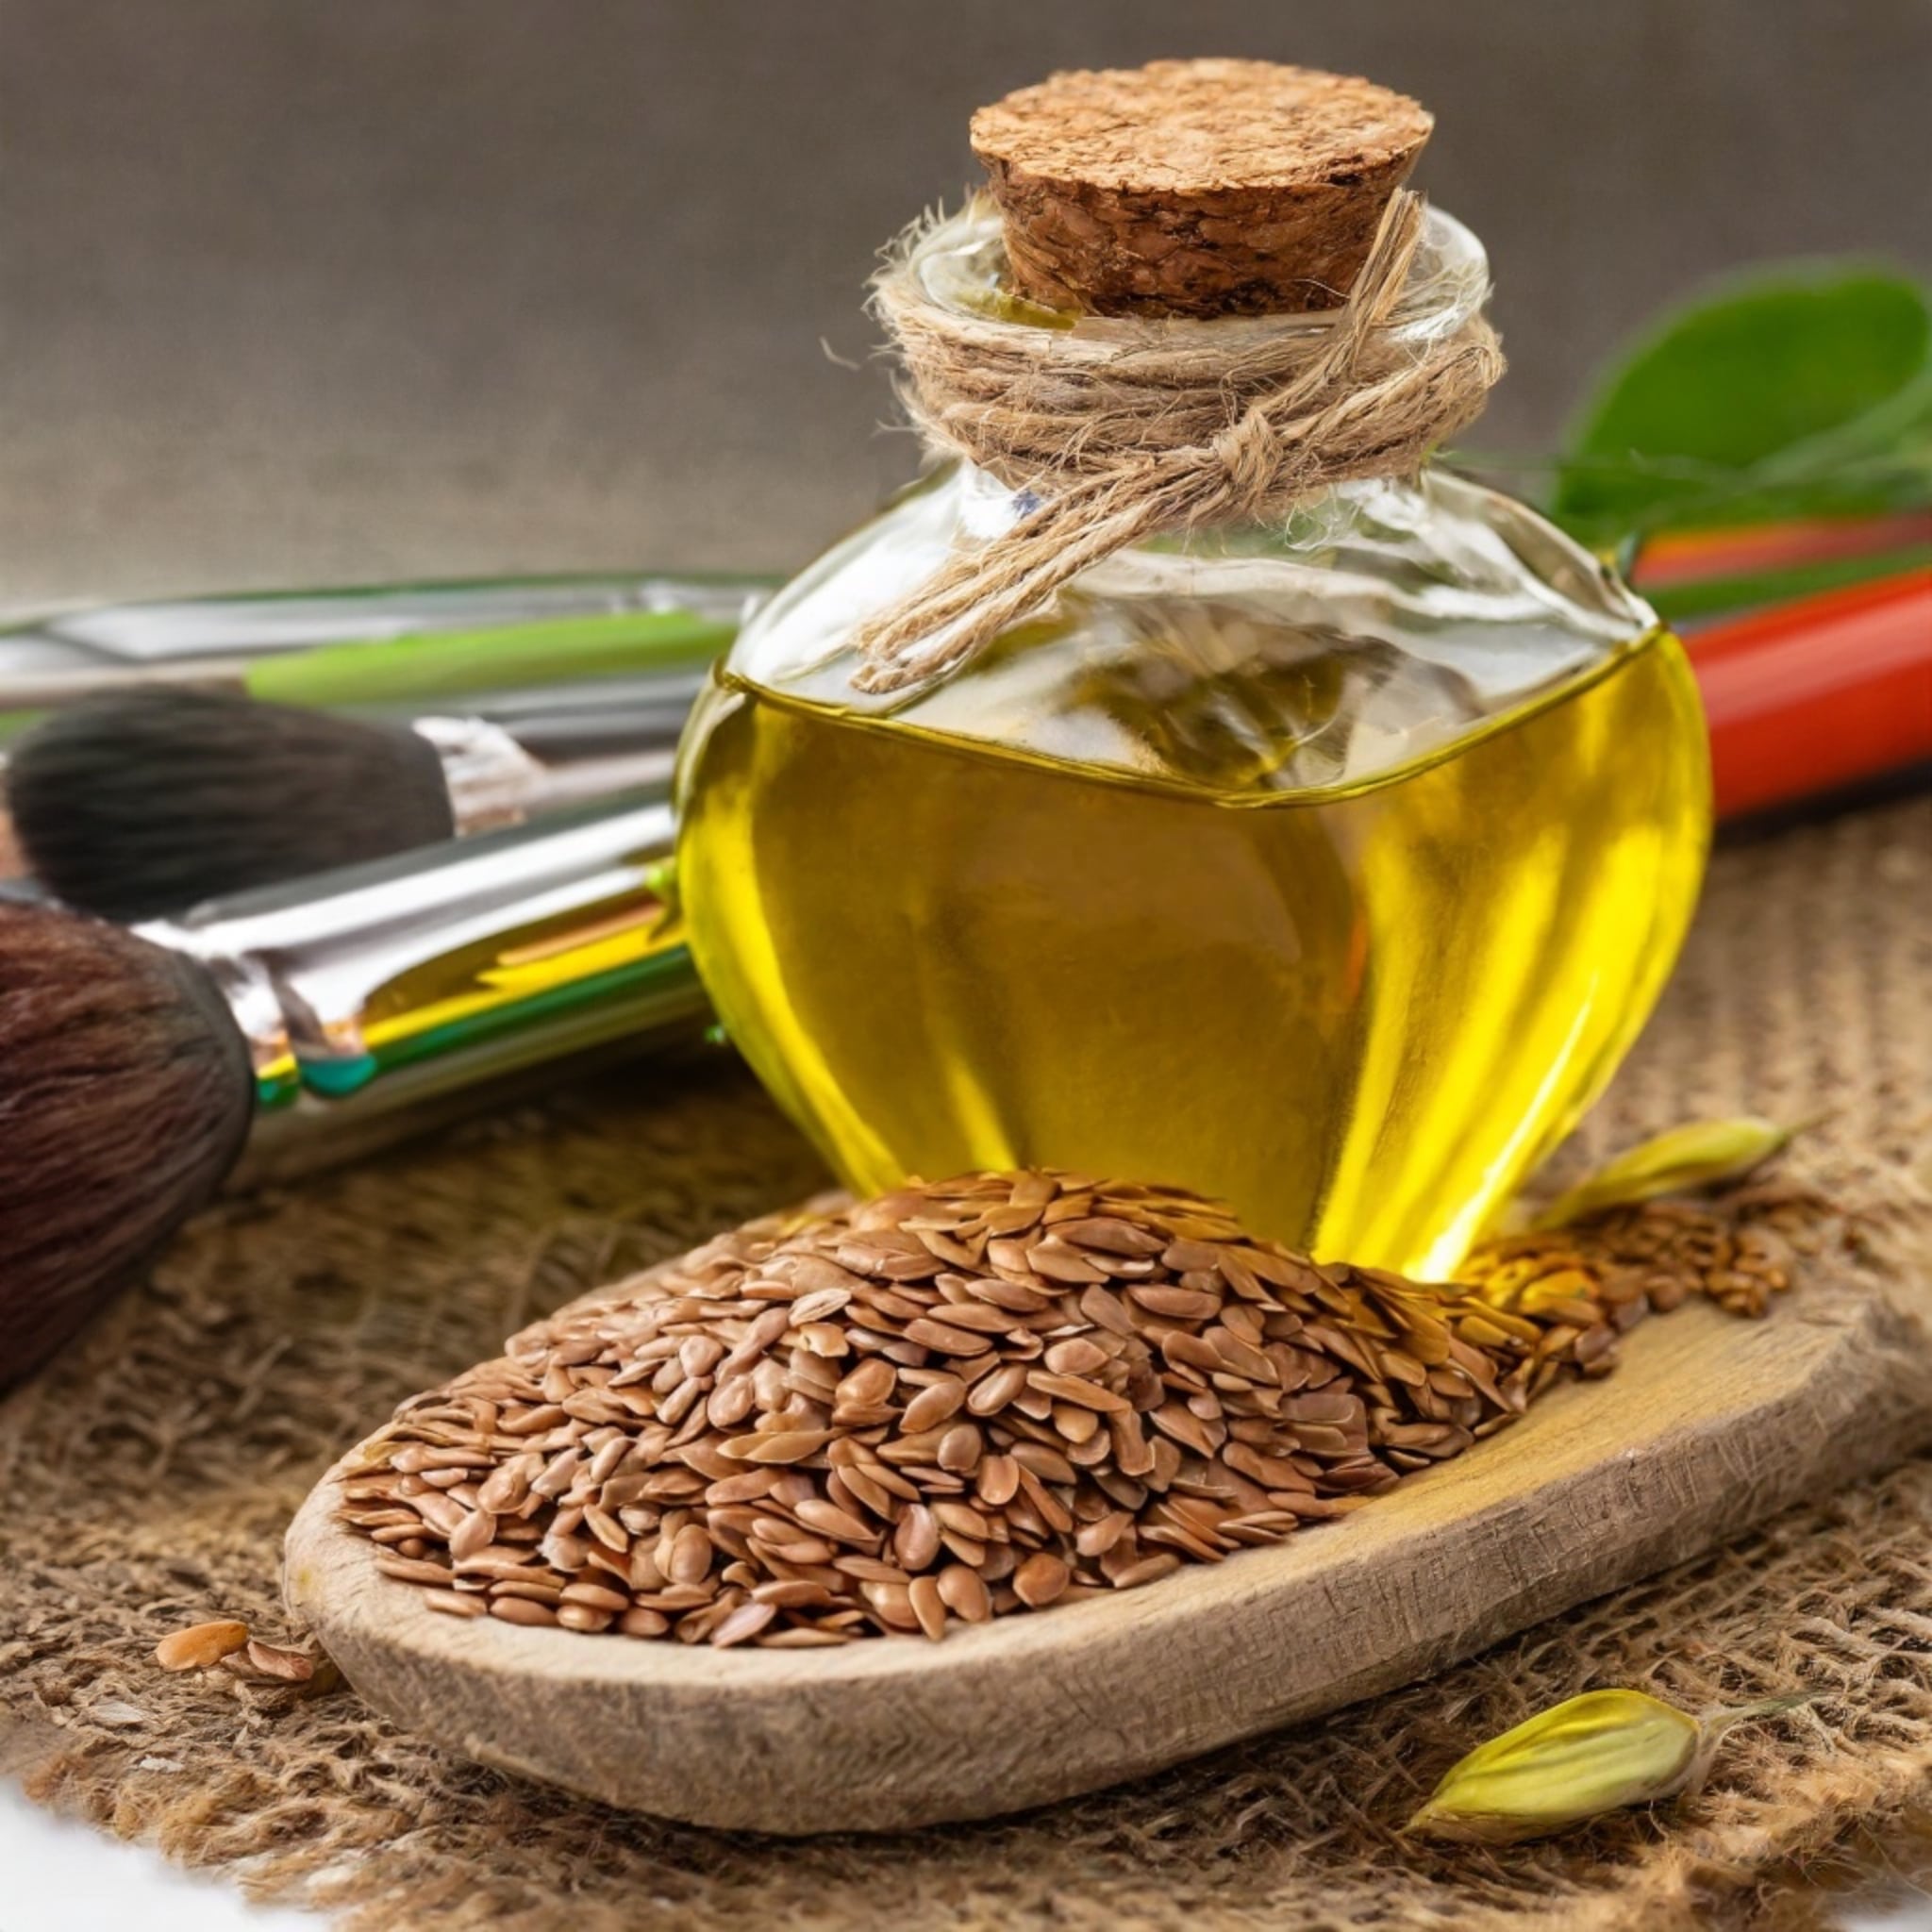
Before moving on to color we do the treatments to keep our carving perfect over time. Then we apply a generous coat of linseed oil to each object and let it dry.
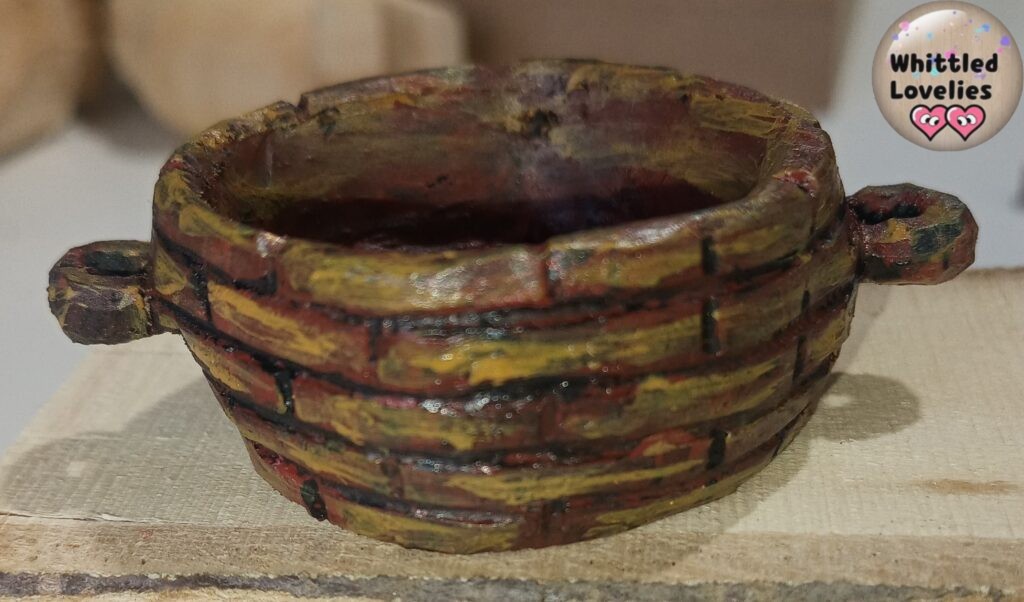
Once dry, with acrylic paints we decorate the eggs with all our imagination. While they dry we color the basket that needs a few more passes. In order to render the knitting effect, it is important that the lines we made with the gouges are well defined.
Here again several methods can be used. The absolute easiest is to color the stripes black and then take care not to recolor them with the colors that will make up the basket. Or you can color and when finished, after drying use a black antiquing wax.
The centerpiece will be the Easter bunny, I chose to make it gray and white, very simple, cartoon style. I chose a light color to contrast better with all the other elements down very colorful.
Conclusion
If desired, all the pieces can then be given a finish that will make them shinier, and they can be glued to each other to ensure stability. I left it all loose because I like that the person who receives it can play with it to arrange it as they like.
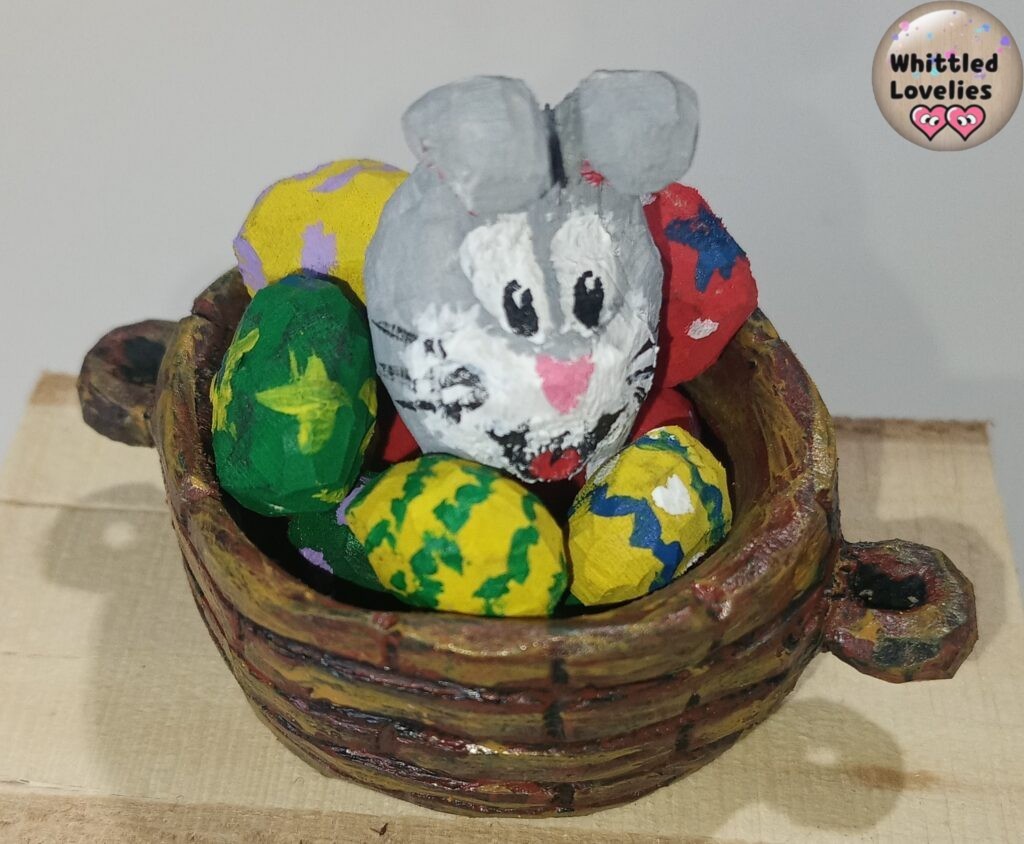
The important thing is that the Easter bunny peeps out among all the eggs he has collected! Finished project! For those who want to dabble in something bigger and more complicated I’ll leave you the link to last Easter’s article!
Easter tutorial: the rabbit hole!
And for those of you who can’t get enough of seeing new ideas here’s also a fun new video from dear Cousin Jack Carves! Enjoy and Happy Easter to all! 😘😘😘
This is an article written by a human for humans!
All articles in the blog are written by me. No contributors, no people paid to write content for me.
Posts written by guests or friends of the blog are marked under the title with the words “guest post.” These are friendly collaborations, contributions to the carving community.
No AI (artificial intelligence) support is employed in the writing of blog articles, and all content is made with the intent to please humans, not search engines.
Do you like my content?
Maybe you can consider a donation in support of the blog!

Click on the button or on the link Ko-fi to access a secure payment method and confidently offer me coffee or whatever you want!
From time to time, in articles, you will find words underlined like this, or buttons with the symbol 🛒. These are links that help deepening, or affiliate links.
If you are interested in a product and buy it suggested by me, again at no extra cost to you, you can help me cover the costs of the blog. It would allow me to be able to give you this and much more in the future, always leaving the content totally free.




Thoughts are like hares. You get a couple and figure out how to deal with them, and pretty soon you have twelve.
🤣🤣🤣don’t worry this are in wood!