The 4 basic knife cuts of woodcarving
Published on: January 19, 2021
Reading time: 6 minutes

As promised here is the in-depth tutorial on how to start carving our little rectangle of wood. After clearing our minds on how to approach our carving project, (didn’t you miss the article? 🤔) we can move on to learn the first 4 basic knife cuts of woodcarving.
Once you’ve learned these you’ll have a wealth of knowledge that will allow you to tackle most of the jobs you have in mind, so it’s worth devoting some attention to them.
Before going into detail on this subject, I would like to make a quick safety note. The hobby you have chosen, woodcarving or so-called whittling, is very beautiful but it is also dangerous. Almost every day I scroll through my home page on instagram I see photos or stories of cuts (fortunately not serious!) to the fingers. They happen to everyone, even the most experienced so always be very careful.
You must always remember that you are holding a knife, or a gouge, or a razor cutter, or in any case all tools that are very sharp. Here it is also better to say that, even if it seems like an antithesis, having a perfectly sharp knife reduces the possibility of cutting your fingers. If a blade slides without imperfections, it slides with less effort and you will have a better perception of the movement you are going to make. On the contrary, with an unsharpened blade you will use much more force than necessary to tackle the cut and you won’t feel like you’re getting results until the blade suddenly escapes from the wood and lands directly on your fingers.
Protective devices
Approaching a woodcarving project with fear, however, is not the right solution to the problem either, so you should always be careful and take some precautions. Many heads many ideas as they say, so each person approaches the problem with different methods, here are a few:
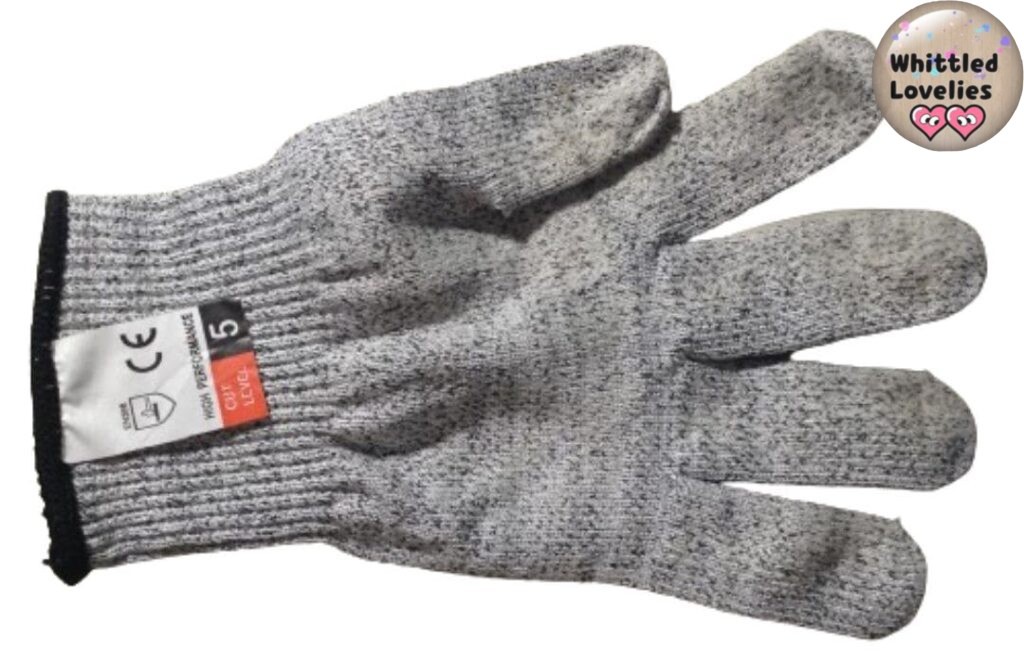
- cut-resistant gloves, perhaps the simplest and most complete solution. They guarantee a good grip on the object in the hand thanks to the grip and cut protection on the whole hand and not only in the fingers. If you learn to use them regularly they are comfortable, but for many, like me, who started out with other kinds of protection they are only used for as long as necessary for a job deemed more risky.
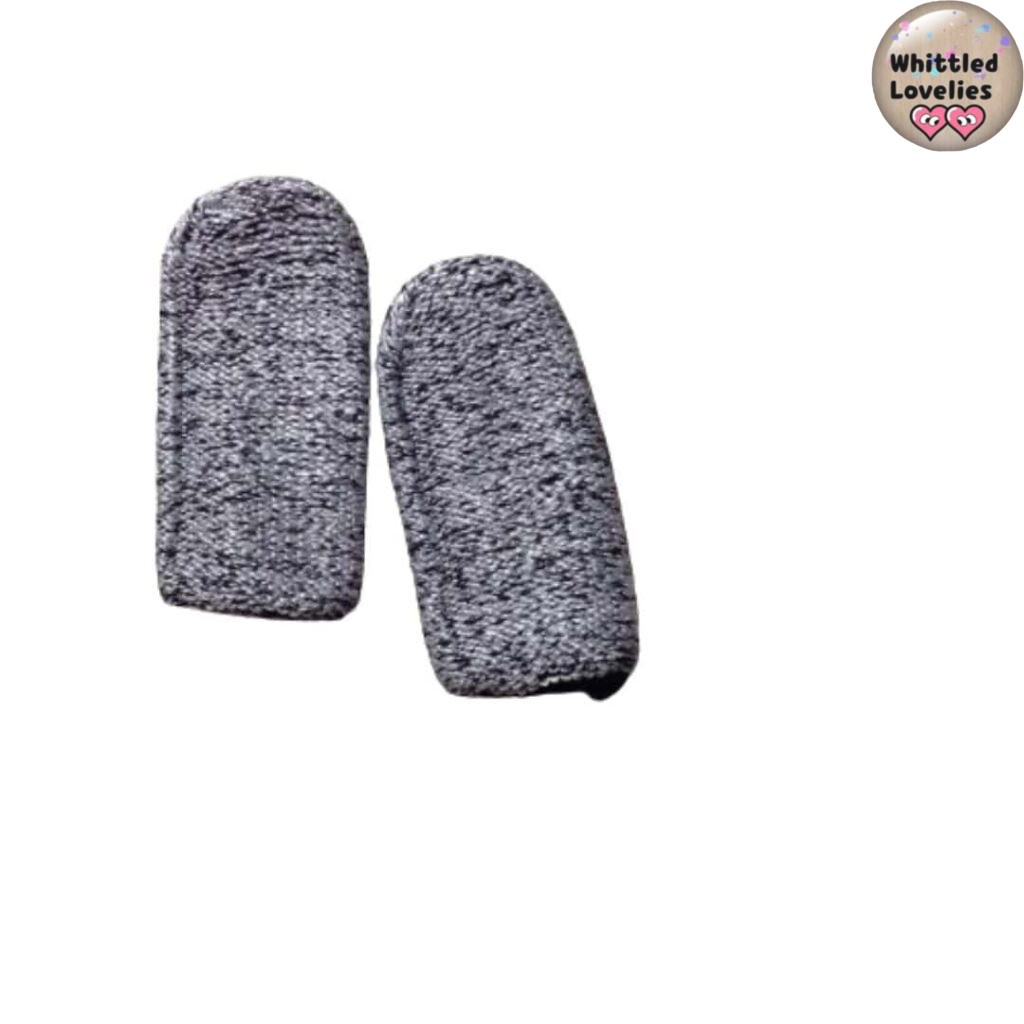
- leather finger gards (or cut-resistant finger gards) practical solution, but it does not protect the whole hand but only those fingers that are considered to be most at risk. One can also try the more imaginative solutions such as using the archery protections, o leather sewing thimbles. The important thing is always to assess in advance what kind of work you are going to do and what degree of protection is useful for it.
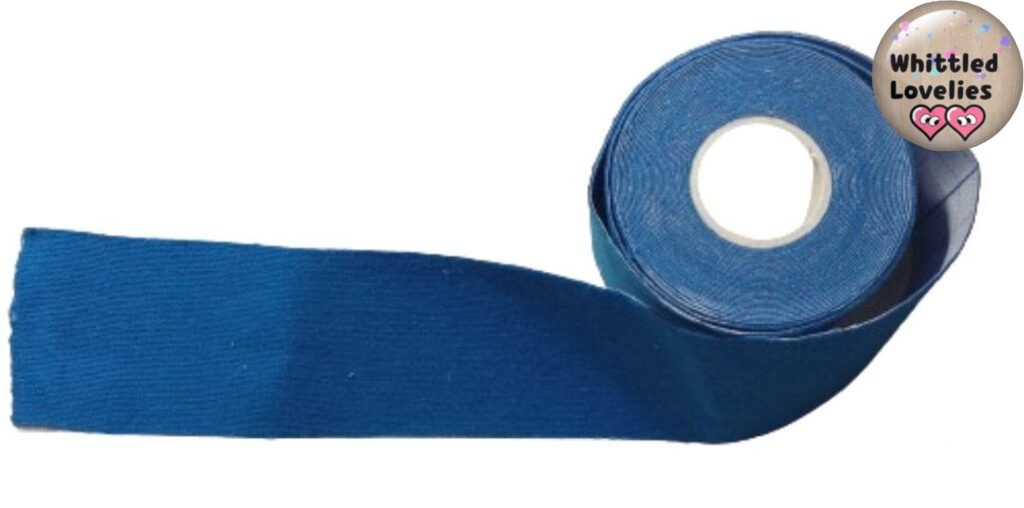
- tape, of all the imaginative solutions, for me it’s the best. Since sometimes you get a blister by forcing the knife on the same spot, I take some cotton and wrap the finger in question in this elastic tape (used for sports or kinesiotherapy). The result is certainly much less durable than leather or hide, but depending on the work you have to do, it’s worth it.
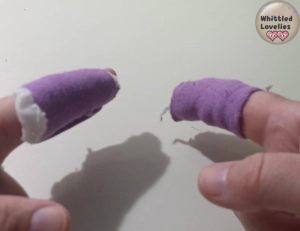
So, whether you decide to cut off the fingers of your old garden gloves, or whether you want to look for even fancier solutions, or simply buy what you think is most useful, always protect your hands, it only takes a second, experts or beginners, it can happen to anyone!
Now that we have also addressed the issue of safety, I hope it is clear to everyone that you should not be scared or obsessed. Use whittling as a ZEN exercise. Be present in the here and now, use a protection that makes you feel comfortable and if you have particular problems with the sliding of the blade you can think about using a little bit of paraffin to make the blade smoother and enjoy the moment.
Having said that, let’s move on to the main focus. The first 4 basic knife cuts of woodcarving are:
- Vee cut
- Sweeping cut
- Stop cut
- Pyramid cut
Vee cut
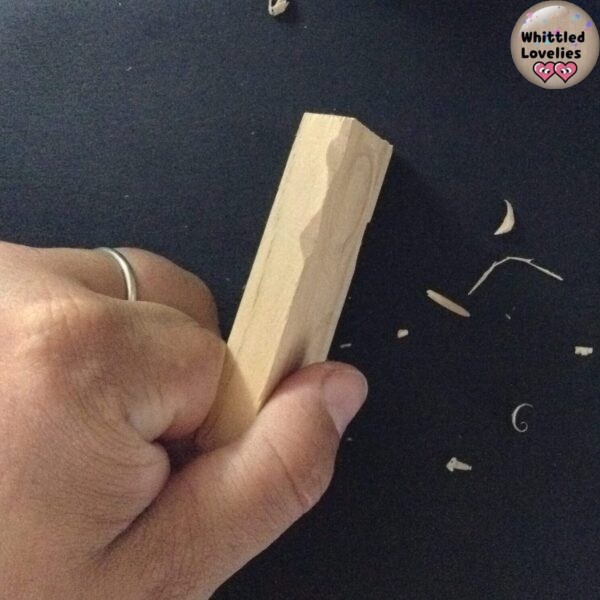
To make this type of cut, place the tip of the knife firmly at 45° and press it gently down into the wood as far as necessary. You have to imagine that it will become like a V, so it is necessary to calculate first how much to widen and how deep to go. Once you have pushed the knife all the way in, retract it and make the exact same cut on the opposite side until you meet the other cut. At this point the V is completed and the wood flake comes away leaving a clean, open cut.
This is perhaps the most widely used cut because it is very versatile. It can be used to create a space for the eyes, an open mouth, a space created with gentleness and openness.
Sweeping cut
This type of cutting relies heavily on wrist movement. It is necessary to use the thumb to put over the blade to direct it better and have more control of the cut. It is usually used at the ends of the block of wood, think of making a hat for example, a delicate cut that runs from deep to light and starts narrow and widens towards the end.
Stop cut
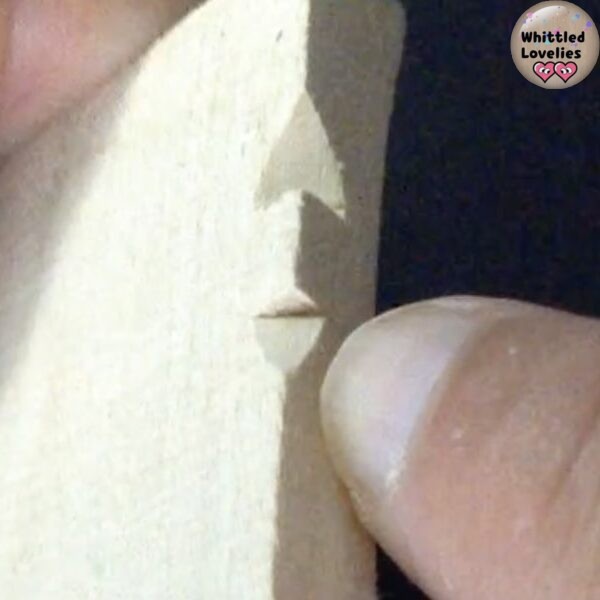
The stop cut is a cut that is used extensively when thinning an image. It is a rigid cut, which allows you to safely cut to the designated point, the stop. It is also very useful to prevent the cut from taking the line of the wood and breaking off a piece from beginning to end of the block. To do this, apply the knife at 90° and press firmly until the stop line is made, after which you cut from the opposite side, sliding towards the stop.
Pyramid cut
The pyramid cut allows you to make a very precise and very small carving, in fact it is done at the point of a knife. To do these types of cuts, you need to visualise or draw a small triangle on the wood. Start by carving the sides firmly with the point of the knife and then carve the base to cut the fibres. If you do it well you will get a small pyramid of wood and an equally precise hollow cut in the wood. I recommend that you make this cut while resting the piece on a stable surface or a vice.
Practising these four types of cuts will help you to master the wood and the knife and may be a little tedious, but if you think that by knowing these cuts you will already be able to start carving your first subject successfully, it is definitely worth the effort!
After learning these basic cuts a new task awaits you, namely, learning all possible knife cuts of wood! Here is the link! Happy learning to all! Bye!!! 😘
This is an article written by a human for humans!
All articles in the blog are written by me. No contributors, no people paid to write content for me.
Posts written by guests or friends of the blog are marked under the title with the words “guest post.” These are friendly collaborations, contributions to the carving community.
No AI (artificial intelligence) support is employed in the writing of blog articles, and all content is made with the intent to please humans, not search engines.
Do you like my content?
Maybe you can consider a donation in support of the blog!

Click on the button or on the link Ko-fi to access a secure payment method and confidently offer me coffee or whatever you want!
From time to time, in articles, you will find words underlined like this, or buttons with the symbol 🛒. These are links that help deepening, or affiliate links.
If you are interested in a product and buy it suggested by me, again at no extra cost to you, you can help me cover the costs of the blog. It would allow me to be able to give you this and much more in the future, always leaving the content totally free.

thank you so much! I am a cub scout leader teaching my kids how to whittle and this blog/page helped me understand better the basic cuts!
I’m really happy that this blog/page helped you better understand the basic cuts for whittling! It’s wonderful to know that, as a Cub Scout leader teaching your kids how to whittle, you found the information useful. If you’d like to dive deeper into the topic, there’s a more recent and comprehensive article available at: All possible knife cuts of woodcarving and a related video in Youtube. Thank you so much for your kind words and happy whittling!