How to start a woodcarving project
Published on: January 7, 2021
Reading time: 8 minutes

Many people, who have heard about my blog project, have asked me if it was my intention to make tutorials or video tutorials on YouTube. I have to say that I have thought about it, mainly because I myself started following the tutorials and I find them to be a real help.
For the moment I don’t feel able to teach anyone how to carve yet, I’m really a beginner and let’s say I’m still in exploratory mode. Nevertheless, I can still try to help someone in my own small way. Maybe starting with what the big bloggers have implied or left out, which is how to start a woodcarving project.
Assuming you already have an idea of the genre you want to approach… What’s that? You haven’t made up your mind yet? 😳🤔 Ok, so let’s take a step back…. There are so many ways to carve wood, as well as so many styles but let’s say that broadly speaking we can identify some of them:
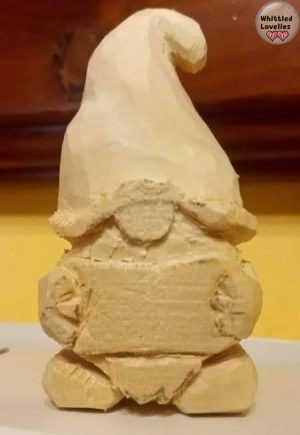
- figurines: animals, gnomes, monsters, people, various subjects
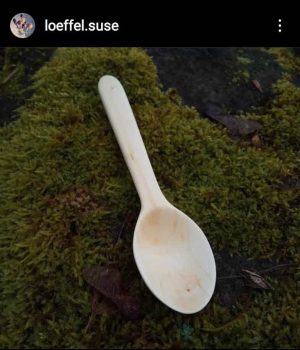
- crockery: the much-loved spoon, fork, bowls of various designs
- pure carving: decorations in bedheads, frames
- high reliefs or low reliefs: figures that protrude beyond the flat surface or sink into it
- stylised: figures that are carved following only the outline and have no internal details
- and many others
I hope that some detail carver or high or low relief maker will read this article and want to chime in and explain their experience and art because I can’t help you with that yet. My imagination is closer to wanting to create small objects, figurines, and maybe one day try to learn the difficult art of carving spoons so let’s say we’ll talk a bit about those things.
So, having clarified this point you now have a focus. My first piece of advice is to identify something you want to copy, so that you can start to reproduce it; better still is to focus on something you really want. This will give you the right impetus to compensate with enthusiasm for any difficulties along the way.
At this point, searching the Internet for video tutorials on the subject you are interested in and following their instructions is the easiest and most immediate thing to do, especially if you are a person who likes to be followed step by step. You will start to get rid of some doubts even if you do not intend to start immediately but only to equip yourself for the project.
The wood
You will discover that there are many varieties of wood and all of them have different characteristics, you will hear about soft woods and hard woods. The choice of wood is often made on the basis of territory. In my area (North-West Italy), for example, basswood is the most popular because it has excellent consistency and good workability, but above all because it is a very common tree. In the south of Italy, on the other hand, it is easier to find Ayous wood than basswood, hence the famous saying 🤣:
Don’t cry if you don’t have basswood, think of those who don’t even have Ayous
MANNY “JIM” MORRISON
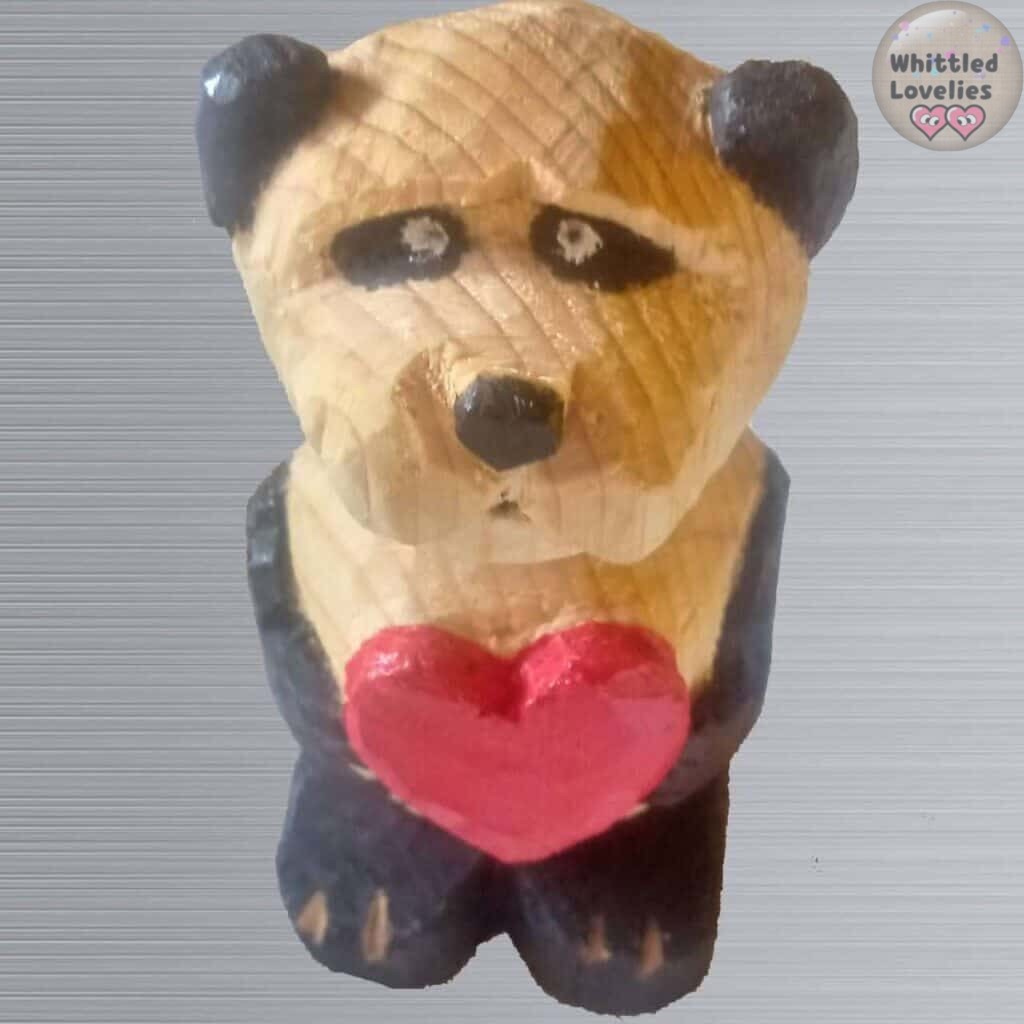
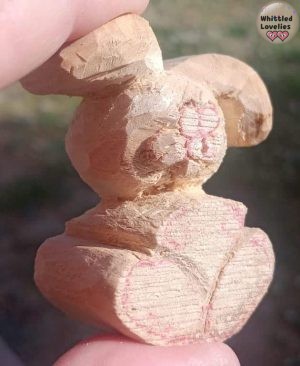
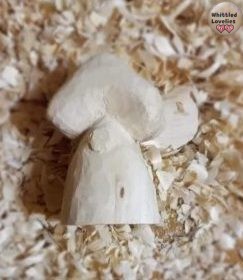
Here I leave you a small overview of examples of woods and the basic characteristics noted by those who have tried carving them
The knife
Having established and found the wood, which you can also buy in the most equipped DIY shops, or on Amazon (for example this wood is excellent) or rely on some trusted sawmill, it remains to buy a carving knife. On this topic you can get lost, so maybe I’ll make a new article talking exclusively about it, but in principle we can say that there are knives and gouges for any kind of need. There are many brands and carvers often have a favourite that accompanies them in every work, or in the best cases they have a set depending on the work they have to do.
It’s a necessary and very important choice, but in this article that aims only to remove (I hope! 😅 ) some doubts I don’t want to deepen more than that. In my experience the choice of the knife should not be made starting from the beginning, but only by working a bit and seeing the need grow directly on the piece itself.
This is the only way you will realise how you carve, whether you make details or whether you use larger or smaller pieces, at which point you will have a good idea of how to choose a knife that will be your most precious ally. Just to give you an idea, I started carving the Douglas with a razor cutter 😱, so if you want you can tackle anything!
Start of works
In this block you will finally come face to face with the big question: OK, I have a nice little rectangle of wood and now how do I visualise my woodcarving project?
This is the question I think everyone asks themselves at the beginning, or maybe even at the beginning of every new project. Writer’s block, blank-page panic are just examples of what you might feel when you look at your little piece of scented wood, eager to be born as Pinocchio.
As I told you at the beginning, there are many videos, many articles and even some specialised magazines, just to mention one @whittlingmagazine (facebook.com/-Whittling-Magazine) can help you achieve your goal. In my opinion, no one method is better than another, the best is always only the one that you understand by intuition that is right for you.
Once you have chosen who will accompany you on your first steps, you will enter the magical world! You will be taught the main types of cuts and the main techniques on how to approach the project. I won’t go into too much detail here either, I’ll do an a specific and comprehensive article on cuts later because it’s a topic that helps and deserves it. Talking more about it here, as for the knife, would be useless because everything always adapts to the type of project you have in mind, so I will limit myself, as for the woods, to give you a small report on the starting techniques.
The drawing
For those who do not come from an art school or who have a particular aptitude for drawing or sculpture, this will perhaps be the most difficult part of the project to overcome. It seems to me that having a good starting drawing is a good percentage of the success of the woodcarving project so I will show you some methods:
- Drawing freehand, with a pencil directly on the wood
- Print the drawing and stamp the outlines using carbon paper
- Print and glue the image directly onto the wood
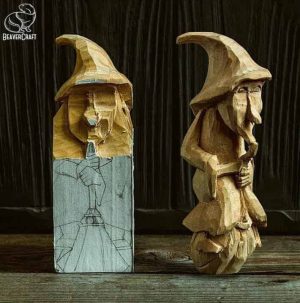
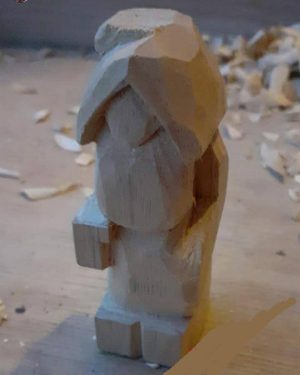
- Carefully follow the instructions in a tutorial and start practising with the 3d dimension of the design, taking into account starting from the corners and not from the flat part of the block. As is very well explained in the tutorial by @cousinjackcarves (https://youtube.com/c/CousinJackCarves/featured) on how to carve this nice dwarf. (You can follow the tutorial with this link)
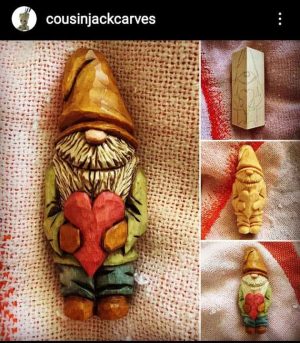
These basic indications will accompany you for a long time, at least until you arrive at your own personal approach, after practising these basics. At advanced levels you can proceed:
- looking at a 3D image and reproducing it just based on the actual size
- or by letting yourself be inspired.
The best thing is to take your wood, your knife, a little free time and let yourself go and find out what will come out, without precise intentions sometimes masterpieces come out that have the power to amaze you! Don’t underestimate it!
The carving
We’re almost at the end, now all that’s left to do is carve! By following your instinct or instructions, a photo or a tutorial, you will let the knife slide across the wood and create a mountain of delicious sawdust. You’ll be amazed at how much you can produce even from small pieces!
This can sometimes be reused to make up small details of your sculpture, as a base for eye-catching photos of your finished masterpiece and as the perfect compost for your garden. The great thing about woodcarving is that from a seemingly dead wood you create something that lives again in another form but carries on its natural history, the smell and energetic vibration of wood is the best drug!
So you start with a block and first try to remove the excess material that remains outside the basic design. This operation can be done by hand with cuts similar to this one, which are very long and help to take the direction of the basic design. With this method, the depth is also achieved and the slopes are created. This is very important when creating the base of a spoon for example.
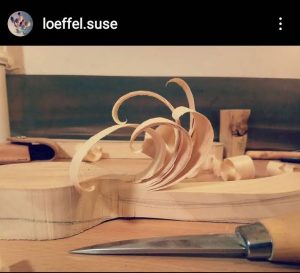
Or with a saw, either manual or band, depending on what kind of design you’re working on. This, for example, is a very illustrative sequence of how to start from a drawing already roughened with a saw and arrive at the final result. Rounding off the edges, and harmonising the figure.
Once the bulk of the work is done, we move on to defining the details, carving hands, eyes, beards, faces, or adding details that will be inserted separately from the monoblock. As can be seen here in one of the @hillmanny
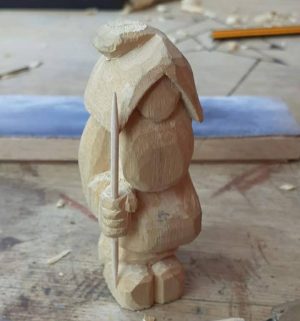
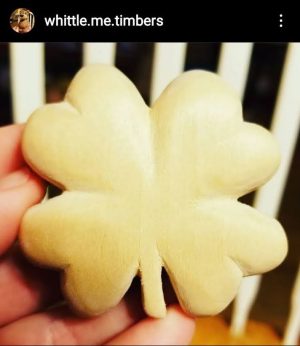
Once this obstacle has been overcome, we proceed straight to the goal, the last touches, a generous pass of very fine sandpaper until the desired definition is achieved.
The colour
And then we come to colour. Acrylic paints are the most commonly used, but many people also use just oils, such as linseed oil, or wood stain. Again, this depends on the imagination, the type of project and other variations. Some also use powdered food colour, or experiment with watercolour dilutions.
Always bear in mind that in this article I have talked more about small figures that are normally kept indoors, so they don’t need a lot of special care. If you want to challenge yourself in larger enterprises, or, you already know that you want to keep your new friend in the garden for example, remember to give him a special treatment to resist the weather and use specific colours for outdoor wood, maybe trying to be a little alchemist and mix powdered colours with impregnating agents. Only by experimenting can you really get to the bottom of things!
This is an article written by a human for humans!
All articles in the blog are written by me. No contributors, no people paid to write content for me.
Posts written by guests or friends of the blog are marked under the title with the words “guest post.” These are friendly collaborations, contributions to the carving community.
No AI (artificial intelligence) support is employed in the writing of blog articles, and all content is made with the intent to please humans, not search engines.
Do you like my content?
Maybe you can consider a donation in support of the blog!

Click on the button or on the link Ko-fi to access a secure payment method and confidently offer me coffee or whatever you want!
From time to time, in articles, you will find words underlined like this, or buttons with the symbol 🛒. These are links that help deepening, or affiliate links.
If you are interested in a product and buy it suggested by me, again at no extra cost to you, you can help me cover the costs of the blog. It would allow me to be able to give you this and much more in the future, always leaving the content totally free.
