How to make a wooden lazy susan
Published on: July 15, 2023
Reading time: 7 minutes
Hi everyone!!! Have you ever thought that you would need a spinning “thing” so that you can make more eye-catching videos with your subjects to show to all your friends on social media? Well! Today in this new tutorial I will explain how to make a lazy susan in a very simple way and with only scrap wood!
After my first DIY tutorial, how to make a wooden clock, I try this impressive as well as somewhat useful project with you today and you will be amazed at how easy it is to build in 6 steps, with very few tools and some healthy recycling.
How the idea of a lazy susan was born
Legend has it that this object has a rather troubled history. Who actually invented it remains a mystery; there are strong doubts even about its origin.
There seems to be evidence that the rotating tray was already on noble tables in the 1700s, in France, England, to replace some waiters.
Again legend has it that it is an invention of Thomas Jefferson, the third president of the United States of America in the early 1800s.
In America this display is known under the curious name of “Lazy Susan,” and it seems indeed that Jefferson had a daughter named Susan and conceived of it as a table sauce turner just for her.
In 1917, it was first advertised as a product under the name lazy susan by Vanity Fair magazine, and that is at least a certainty! Since that time the rotating tray has, toured, tables all over the world.
Sometimes with vintage charm, sometimes as a boom product it has passed with agility all these years to come down to us. I have presented the lazy susan as an object for showing, for displaying. But actually its most common use is on the table to aid in distributing food, in use in most Chinese restaurants around the world.
Shapes and sizes
It is normally offered in various materials: metal, glass, plastic, and more or less fine wood. If used as a display, it is not strange to find it also in a non-table version but resting on the ground via a tripod.
The sizes then, are the most varied. Precisely because of the variety of uses that can be made of them. The one I propose here today is tiny, the dish is only 27cm.
You can totally build it with measurements to your liking, just consider the weight of your plate (and thus also the size) and calculate that it has a pedestal to ensure enough stability even when weights are placed on the plate.
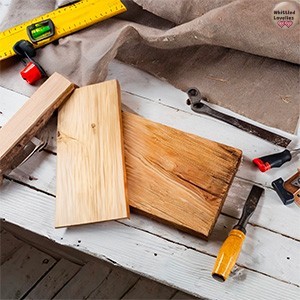
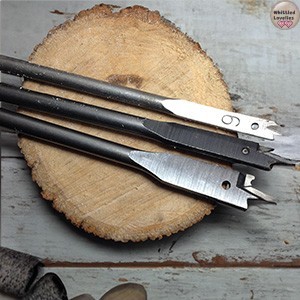
Let’s see now what we need for this project!
Have you found everything? Let’s get started!
I found only really poorly preserved pieces of wood. I wanted to try anyway to show you that in this project you have no need to be precise or precious pieces, the result comes out just fine even without who knows what care!
Step 1
On a board, for me the 1.5 cm high one, draw a circle. Methods are varied, a jar of similar size or, another quick method is to rest the wrist holding the pencil, firmly on the wood and with the other hand move the wood.
Since we will need the center hole you can also drill a hole in the center and put a screw in the middle. Wrap a lanyard around the size of the radius you need and tie a pencil. With the lanyard stretched out here is our circle drawn.
If you want to make it even simpler, since then sawing a circle is not the easiest thing to do, you can also leave it square, so everything underneath the plate does not remain visible. 😉
Step 2
Cut out a board for the base, mine 15×15. And since we are using the saw, go ahead and cut out the circle from step 1. I used a band saw, but if you have a scroll saw it is easier.
Step 3
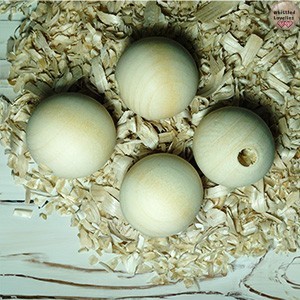
Draw a cross in the circle and at the distance, for me, of 1 cm from the edge, make a mark, at 4.5 cm make the second mark. (Again referring to my measurements with circle diameter 12 cm and balls diameter 2.6 cm).
Here you need to draw 4 circles of large size, (even 1 cm more if you have space), appropriate for the size of the balls.
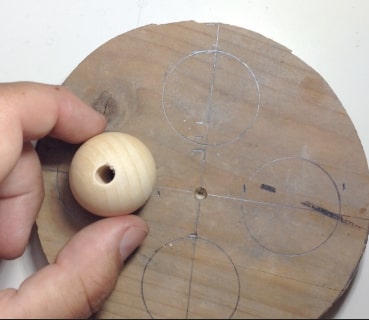
Switch to hand fretwork, or electric and cut out the 4 circles trying to be as precise as possible.
Step 4
Drill holes in the direction of the center (keeping at least an inch above the center pivot hole) following the cross. Repeat for all 4 holes.
The size of these holes is given a few millimeters more by the size of the diameter of the stick that passes through the balls.
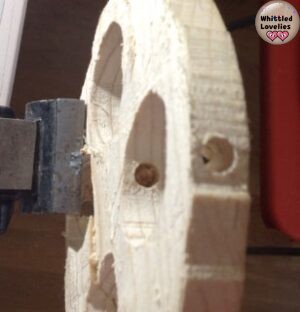
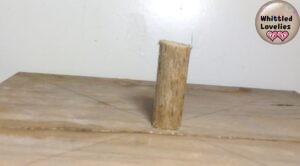
Again with the drill, make the hole in the center of the base piece and the same in the round piece. These measurements are based on the stick that will serve as the pivot.
Step 5
Put glue in the holes near the center and insert stick with the ball threaded through it. Being careful that the balls do not touch any glue smudges put glue in the outer holes as well and let dry well.
Put plenty of glue and insert the pin deeply into the base and let it dry.
Step 6
Now that everything is dry we are ready to assemble. If you want you can cut the excess sticks from the circle. I left them, they can be used to rotate the lazy susan without putting your hands on the top.
If everything has worked, the balls slide unimpeded. We slip the round piece with the balls onto the pivot, over the base and check that it has ease to rotate without sticking. The balls should stick well to the base which will help them slide.
We take the plate and insert it with the slot on the pivot. The plate in turn must adhere well to the balls. And…magic! 🎉 You have just created your first lazy susan!!!
Minor troubleshooting
If like me you have used woods in bad condition easily during construction they will have cracked or even broken. No problem, using glue for wood and keeping the pieces well pressed together will give you no problems once dry.
I was lucky enough to find an old cutting board that suited me and used that as a plate since it was already finished rounded.
Time, washing, and cheap industrial processing hit it hard, and it shredded into 3 pieces, exactly at the joints between one board and the other. With multi purpose glue I re-soldered them, after thoroughly cleaning of the previous gluing.
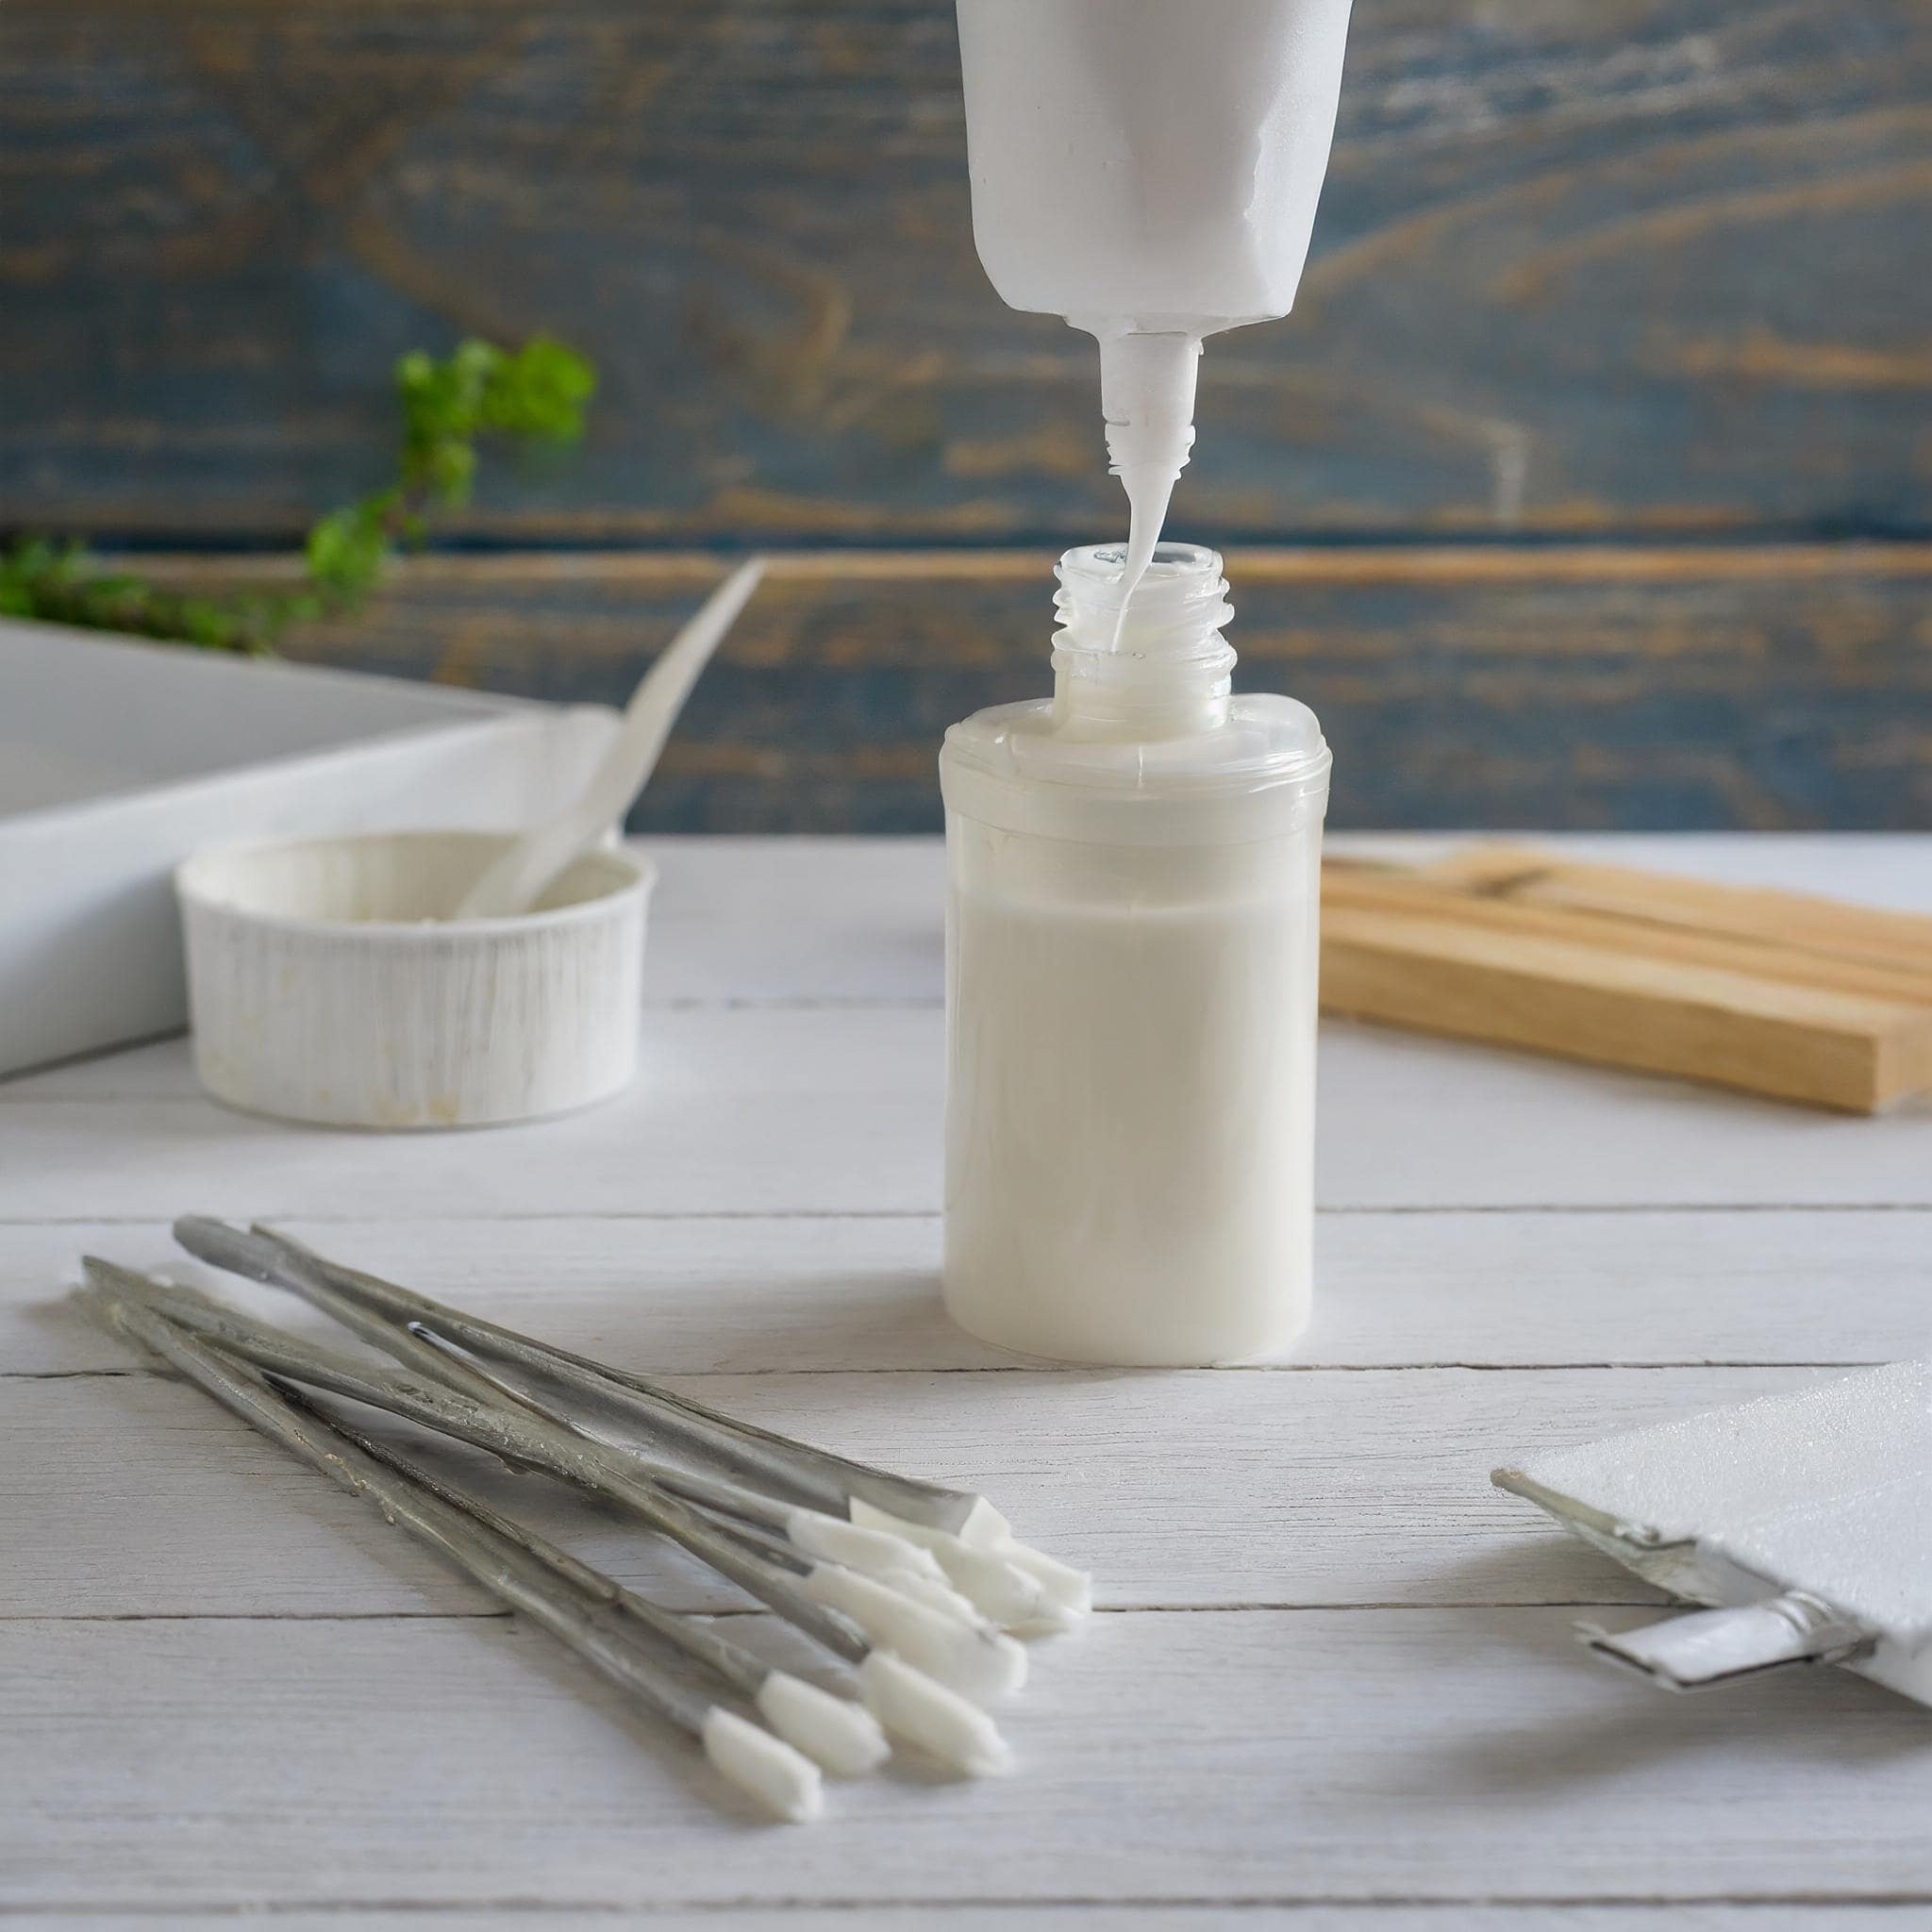
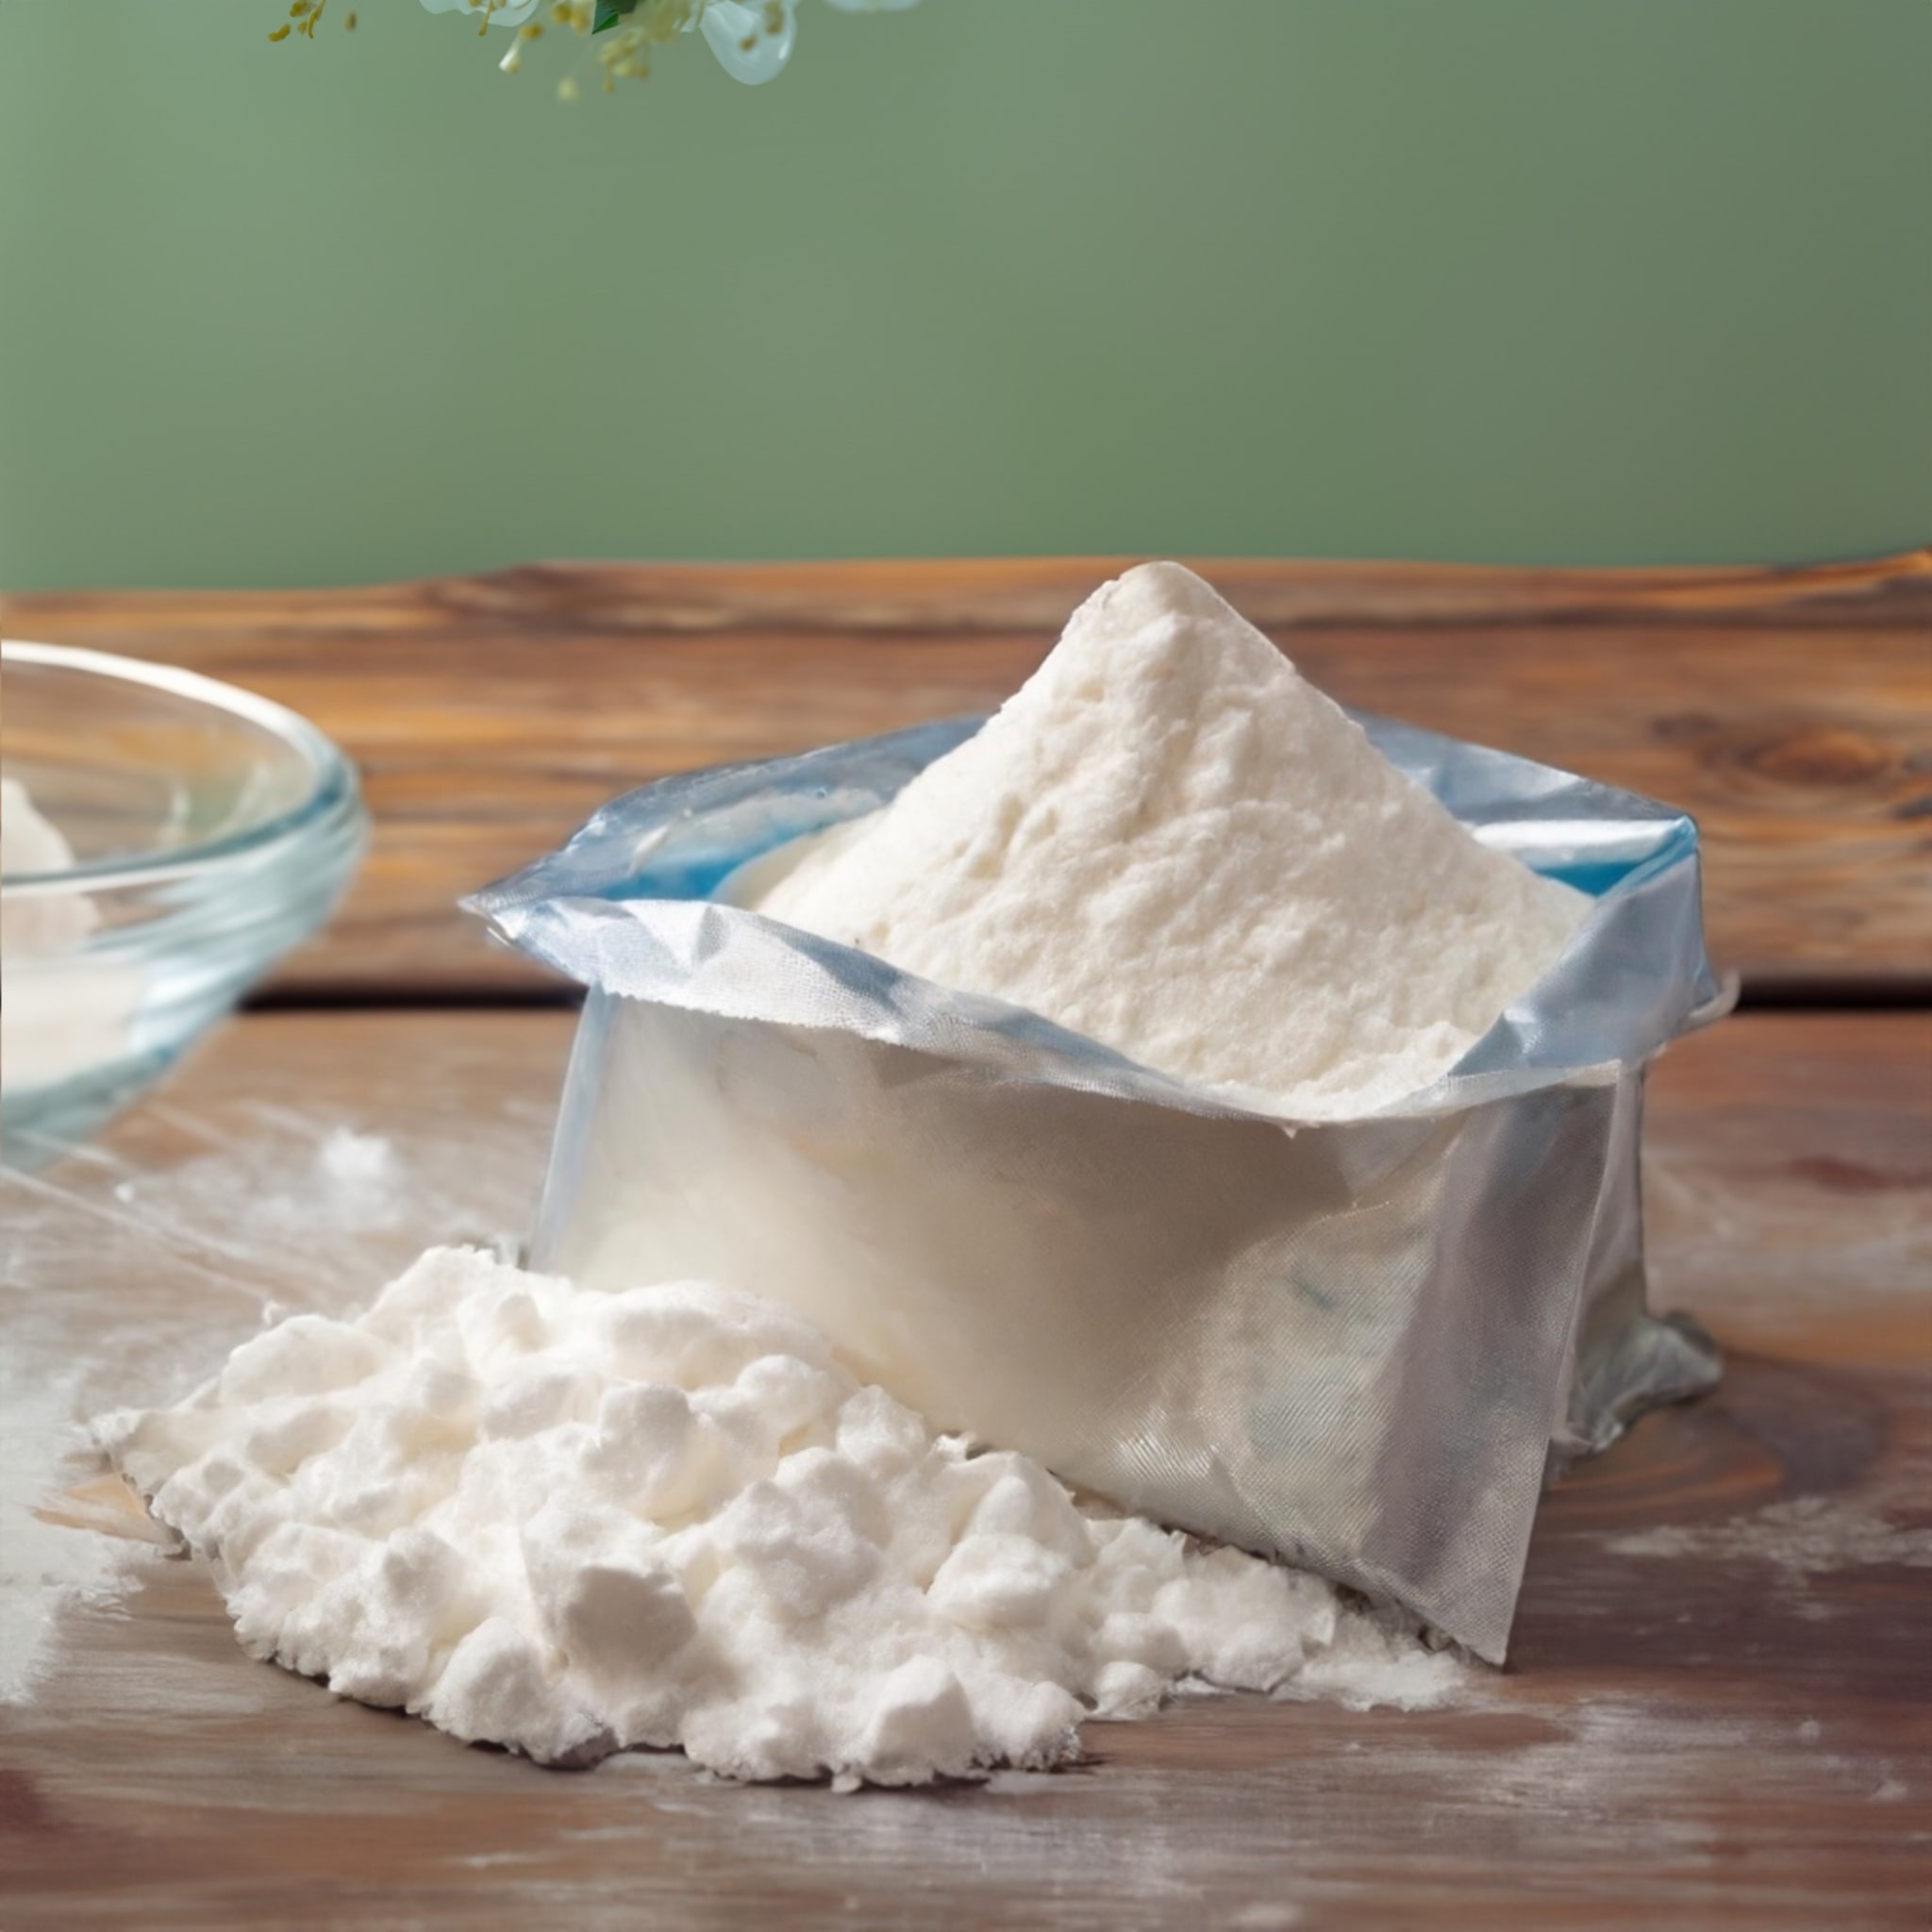
But in one section the wood no longer adhered to the original size and there was an unpleasant crack. Unsightly but more importantly a possible area of eventual wood breakage in the future. So I resorted to my magic mixture of cold porcelain.
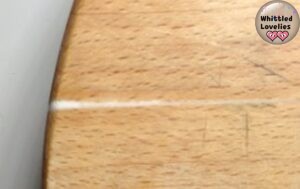
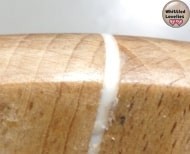
With this simple paste: I recreated the top, made the cut less visible and protected the wood from breaking. The recipe and preparation of cold porcelain can be found in this article. Always remember to clean well from any residue before it becomes rock hard!
Step 7
For me having problems with breakage with the materials I used, or even because you maybe want to have a different finish than natural wood, let’s get to the color part!
Over cold porcelain can be stained. The color stays exactly the same as on the wood, without variation. I used pure acrylic color because I also had to cover all the deep cuts from previous cutting board use.
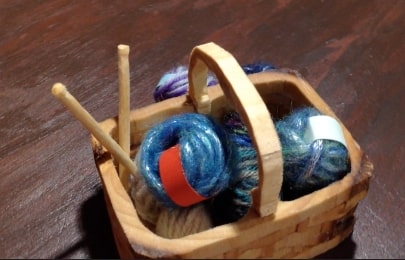
And here is the final result! I can’t wait to use my new lazy susan to make beautiful videos with my new crafts!!! And what are you waiting for? Oh, I forgot! I created for you the video with all the preparation here it is:
That’s all for today as well, I hope you will enjoy surprising your friends with this 100% wood, 100% eco-friendly and 100% recycled project! If you like DIY projects, read more, just check out the DIY category! Bye! See you next month! 😘😘
This is an article written by a human for humans!
All articles in the blog are written by me. No contributors, no people paid to write content for me.
Posts written by guests or friends of the blog are marked under the title with the words “guest post.” These are friendly collaborations, contributions to the carving community.
No AI (artificial intelligence) support is employed in the writing of blog articles, and all content is made with the intent to please humans, not search engines.
Do you like my content?
Maybe you can consider a donation in support of the blog!

Click on the button or on the link Ko-fi to access a secure payment method and confidently offer me coffee or whatever you want!
From time to time, in articles, you will find words underlined like this, or buttons with the symbol 🛒. These are links that help deepening, or affiliate links.
If you are interested in a product and buy it suggested by me, again at no extra cost to you, you can help me cover the costs of the blog. It would allow me to be able to give you this and much more in the future, always leaving the content totally free.

