How to Build a Gouge Holder in 6 Foolproof Steps!
Published on: September 15, 2024
Reading time: 4 minutes

Hello everyone!
Today our friend Takahama tackled a very useful project that’s surprisingly easy to make—his signature style, you could say! Let’s join him and see how to build a practical gouge holder in just 6 foolproof steps!
Do you have (palm) gouges that you always need to have on hand but don’t know how to keep them organized? Don’t worry, today I’ll show you how to make an easy gouge holder, perfect even for DIY beginners.
The project I’m presenting is designed for palm gouges, so it’s small and compact, but it can be easily adapted for knives, screwdrivers, or other tools just by adjusting the measurements a bit. Ready? Let’s go!
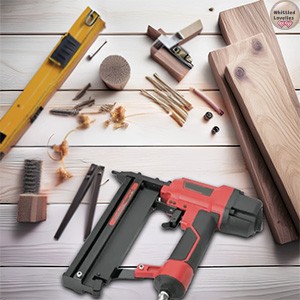
What do you need?
My finished chisel holder has:
- A width of 20 cm – 7.87 inches – 7 7/8 inches
- A depth of 8 cm – 3.15 inches – 3 1/8 inches
- A height of 8 cm – 3.15 inches – 3 1/8 inches
Note: The height is not just the sides (the edges of the chisel holder), but also includes the drilled top and the base underneath.
My measurements are obviously indicative; you can use any wood you have at home, as long as it is sturdy and solid. The dimensions can be adjusted to fit your specific needs.
Step-by-step instructions:
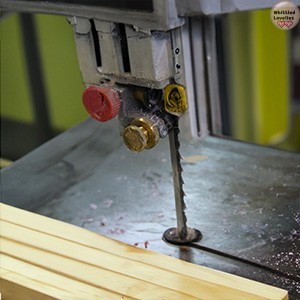
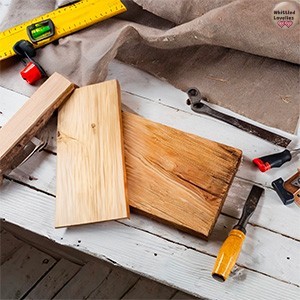
1. Take measurements and cut the wood
To start, cut the wooden boards to get the pieces you need. I used a bandsaw for the job. Remember: 20 cm width, 8 cm depth, and 8 cm height (A width of 7 7/8 inches, a depth of 3 1/8 inches, and a height of 3 1/8 inches). Set aside the side pieces, the base, and the top piece, which you’ll drill later.
2. Mark where to drill the holes
For the gouge holes, I decided to make a row of 5 holes on top and 5 on the bottom, in a staggered pattern. This means the hole in the bottom row sits halfway between the two holes in the top row. This helps you see the gouges better once they’re in place.
Mark the first holes 2 cm (0.787 inches – 25/32 inches) from the edge, then continue marking each hole at 2 cm intervals. Don’t forget: to avoid mistakes, also subtract 18 mm (0.709 inches – 23/32 inches) from each side for the thickness of the side pieces.
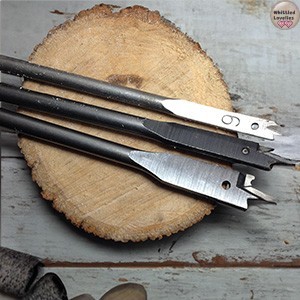
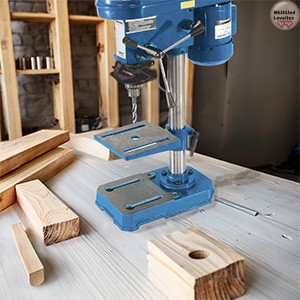
3. Drill the holes in the top piece
Once the spots are marked, move to the drill press. Use flat wood drill bits of 10 mm (0.394 inches – 25/64 inches). Here’s an important tip: when you’re drilling, always place a fixed support underneath, or you’ll risk splintering the wood when the drill bit comes through the other side. Trust me, you don’t want to ruin your work at this point!
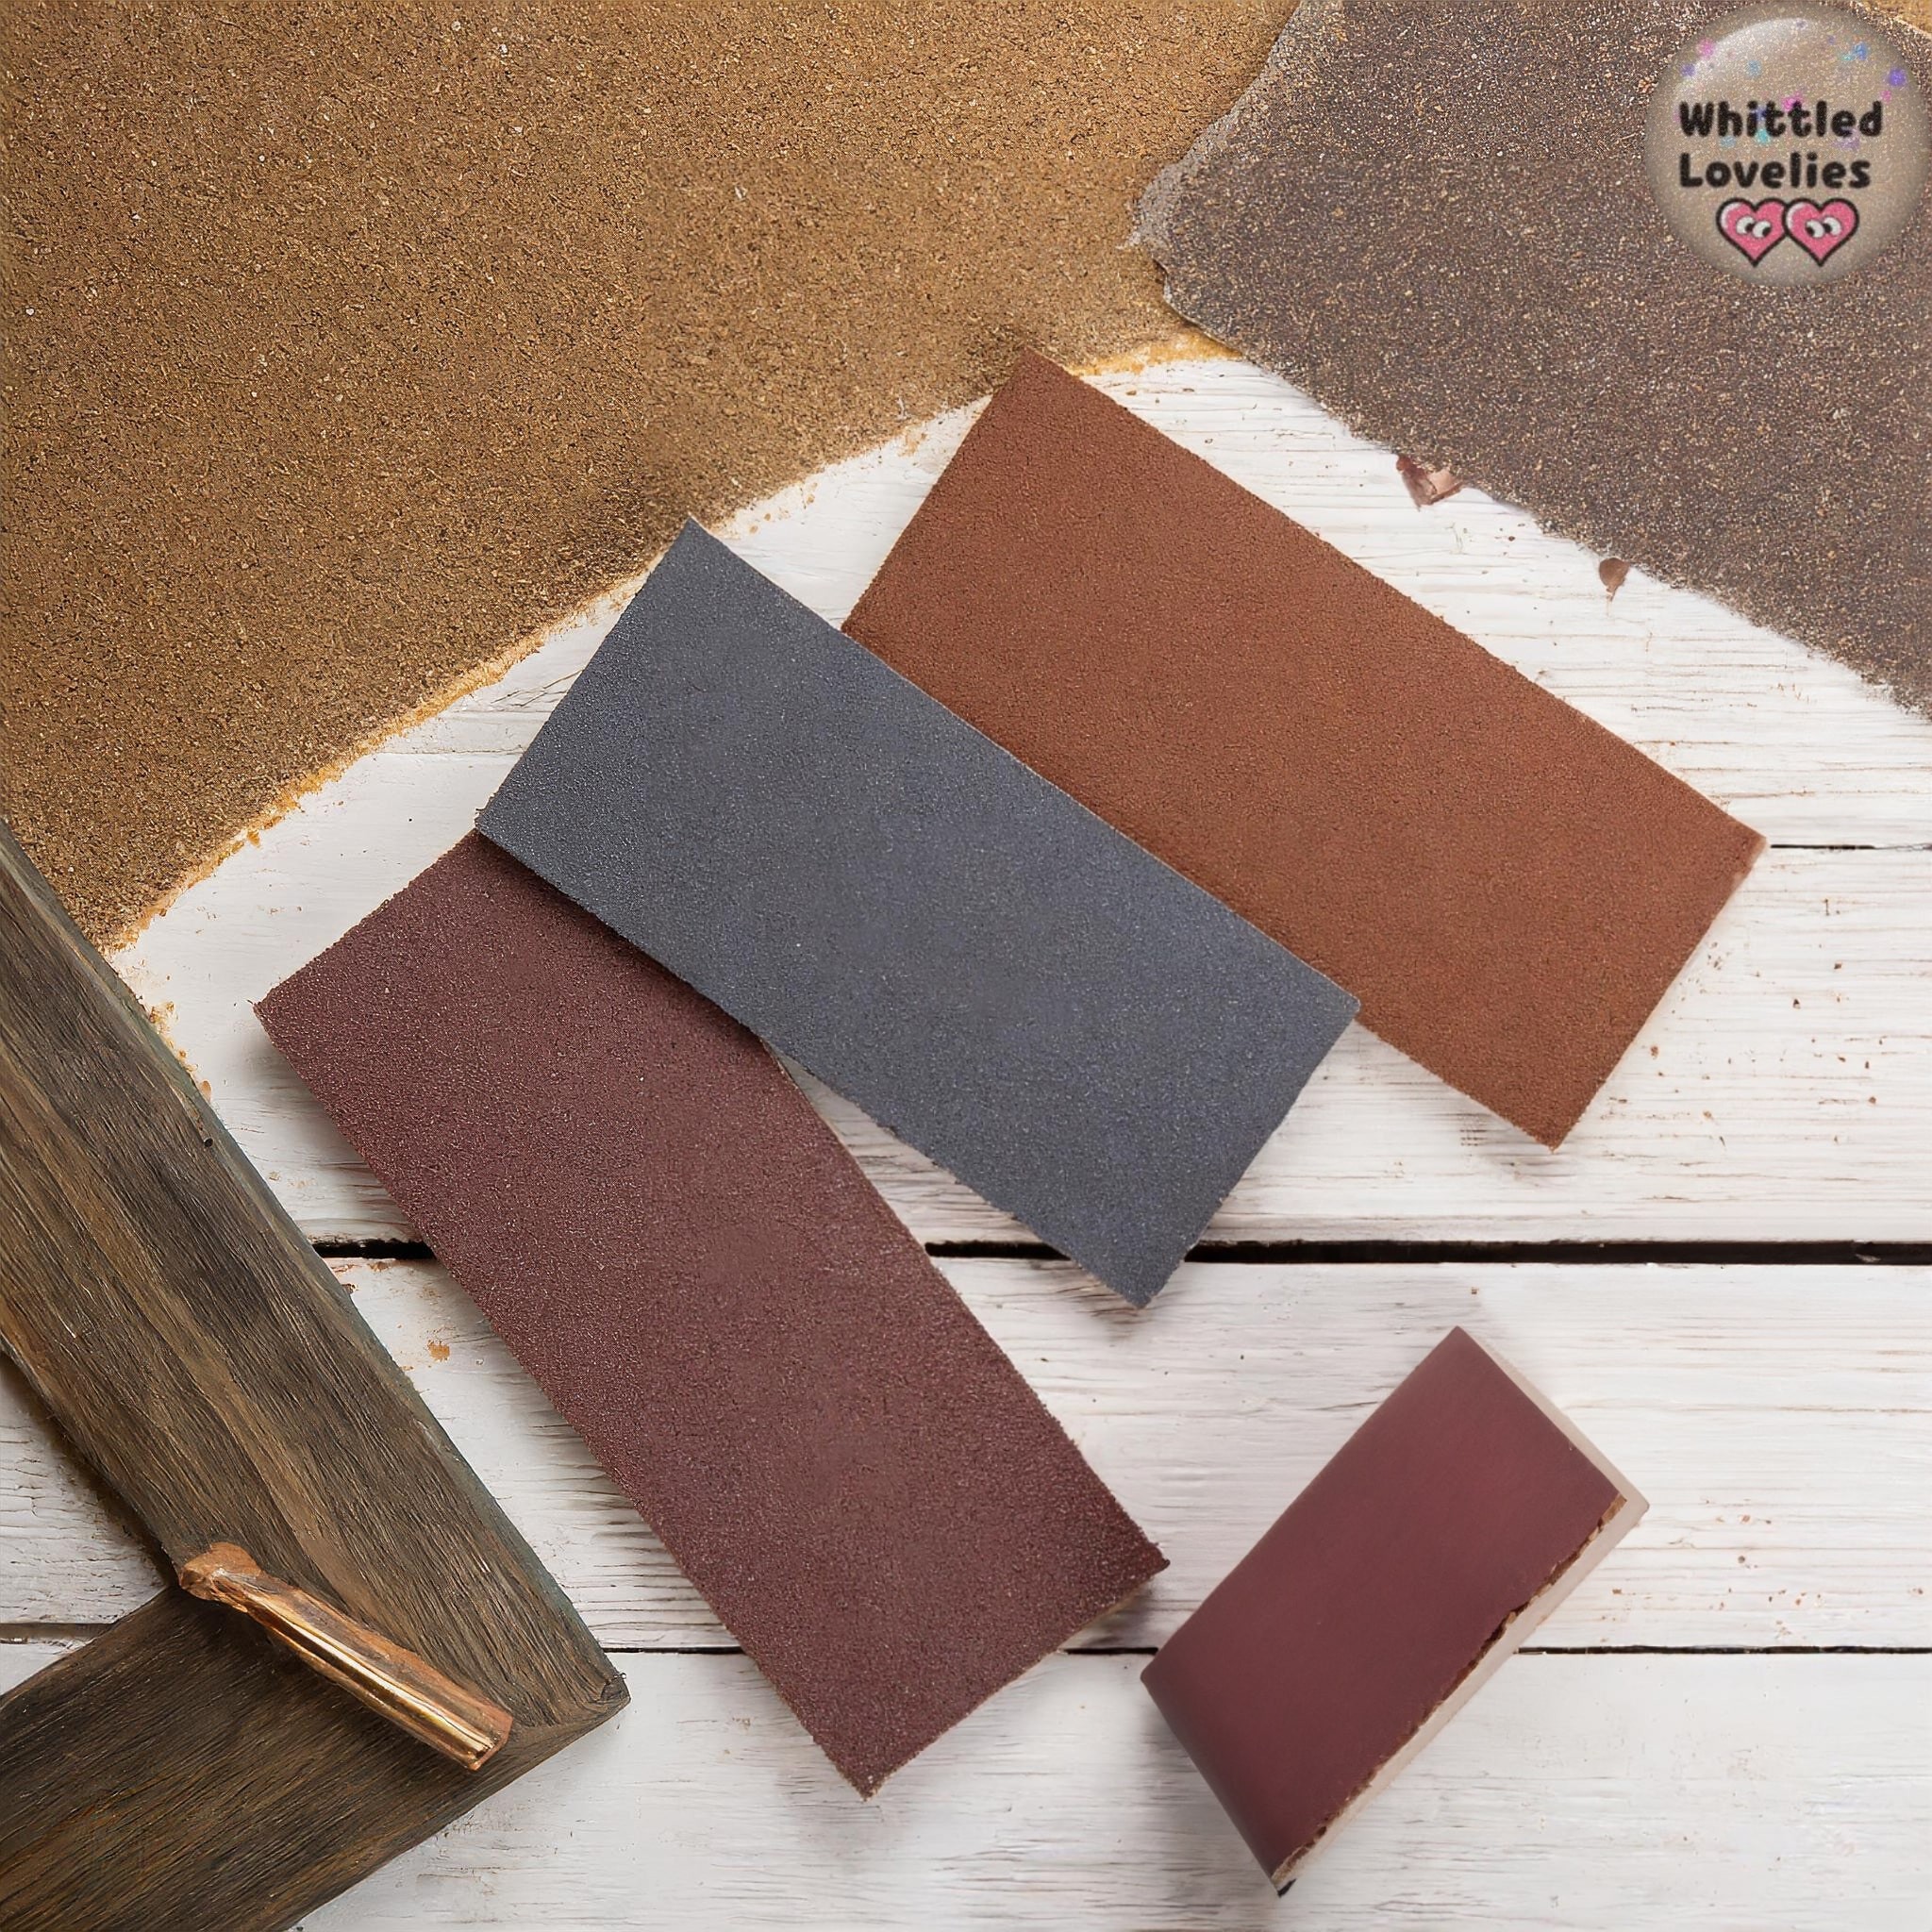
4. Sand the edges
Now grab your sandpaper (I used a 120 grit, always reliable) and sand the edges and corners to smooth them out. It doesn’t need to be perfect, just enough to remove any sharp edges and make everything a bit smoother to the touch.
5. Assemble the gouge holder
Now that you have all the pieces ready, take your nail gun and assemble everything. If you don’t have a nail gun or prefer another method, you can use wood glue, small nails, or even screws. Go with whatever makes you feel more comfortable.
6. Finishing (optional)
The gouge holder you see in the video is left unfinished, but you can finish it however you like. A bit of linseed oil for a natural look, or if you want something more colorful, use acrylic paints or wood stain. It’s up to you!
Video Tutorial
There you have it, your gouge holder is ready! As promised, in just 6 quick and easy steps, our beautiful and super practical tool holder is now on your workbench! Great idea, Tak!
If you need a little more help, check out Takahama’s video tutorial to visually follow each step. The procedure in the video is silent, so you can follow along without needing subtitles. This article is perfect for guiding you through the building process! 🤓😉
Possible Modifications
As Tak mentioned at the beginning, this project is designed for palm gouges, but with a few modifications to the measurements, you can use it for any other tool you need, like knives or screwdrivers, adapting the project to your needs.
Not only will you have a useful accessory for your workshop, but you’ll also have the satisfaction of knowing you built it with your own hands. Now it’s time to organize your gouges or knives and get to work!
I hope this simple project was helpful to you. A big thanks to Takahama for his valuable collaboration with the blog: thanks to him, I can occasionally add new projects! Don’t miss them!
Check out the DIY category to discover all the previous projects. For example, now that you have a gouge holder for your workshop corner and everything’s organized, why not say goodbye to all the wood chips that fly around every time you carve? Click here to read the article on how to build a simple but efficient portable barrier!
Until next time, let’s keep things wood-erful and tidy! 😘😘🤗
This is an article written by a human for humans!
All articles in the blog are written by me. No contributors, no people paid to write content for me.
Posts written by guests or friends of the blog are marked under the title with the words “guest post.” These are friendly collaborations, contributions to the carving community.
No AI (artificial intelligence) support is employed in the writing of blog articles, and all content is made with the intent to please humans, not search engines.
Do you like my content?
Maybe you can consider a donation in support of the blog!

Click on the link Ko-fi to access a secure payment method and confidently offer me coffee or whatever you want!
From time to time, in articles, you will find words underlined like this, or buttons with the symbol 🛒. These are links that help deepening, or affiliate links.
If you are interested in a product and buy it suggested by me, again at no extra cost to you, you can help me cover the costs of the blog. It would allow me to be able to give you this and much more in the future, always leaving the content totally free.