DIY
Christmas Tree: When Recycling Becomes Christmas Magic!
Published on: December 15, 2024
Reading time: 6 minutes

If you’re searching for an original and sustainable idea for your Christmas tree, you’re in the right place! In his straightforward and no-nonsense style, Takahama shows us (also in a video!) how he transformed a simple pallet into a unique and creative Christmas tree.
This project is not only easy to execute but also a perfect example of recycling and DIY. Discover step by step how to create your own DIY Christmas Tree from a Pallet: When Recycling Becomes Christmas Magic, and craft a holiday decoration that won’t go unnoticed!

Listen, this year, for Christmas, I decided to make my own tree. Yes, me, with my own hands and a pallet I had lying around in the garage. It’s not that I didn’t want to buy one, but between the price of fake firs and the mess of needles that real ones leave around, I thought: “Why not handle it myself?” And so this project was born. I’ll explain how to do it; it’s something even someone who’s never held a saw can manage. Just a bit of willingness and maybe a beer on the workbench, which always helps.
Materials:
Hunting for the Perfect Pallet
Pallets are easy to find, often for free or at a low cost. Plus, by recycling a pallet, you not only save money but also create something unique and sustainable. So, first thing: get a pallet. It doesn’t have to be perfect, but not too beat up either.
If you can find one where the wide side is at least a meter tall, even better. That way, you don’t end up with a bonsai tree. If you plan to place it outdoors, I warn you: you need to treat it first with a wood preservative, then give it a coat of paint, and finish with an exterior protective sealant. I know, it’s tedious, but if you want it to withstand some rain and cold, you have to.
Preparing the Base:
Goodbye to the First Two Slats
Place the pallet on the ground, with the wide side facing you. Now you need to remove the first two horizontal slats, the ones closest to you. If the pallet is short, just remove the first slat; if it’s taller, remove the second one too. Use a hammer or crowbar to lift the nails and detach the slats. No need to be too delicate: you’re not building an Ikea bookshelf.
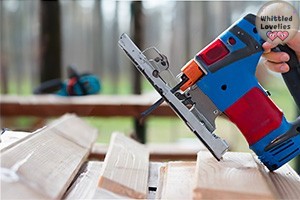
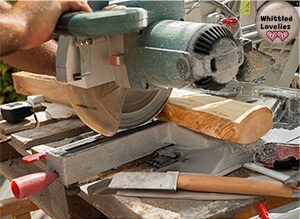
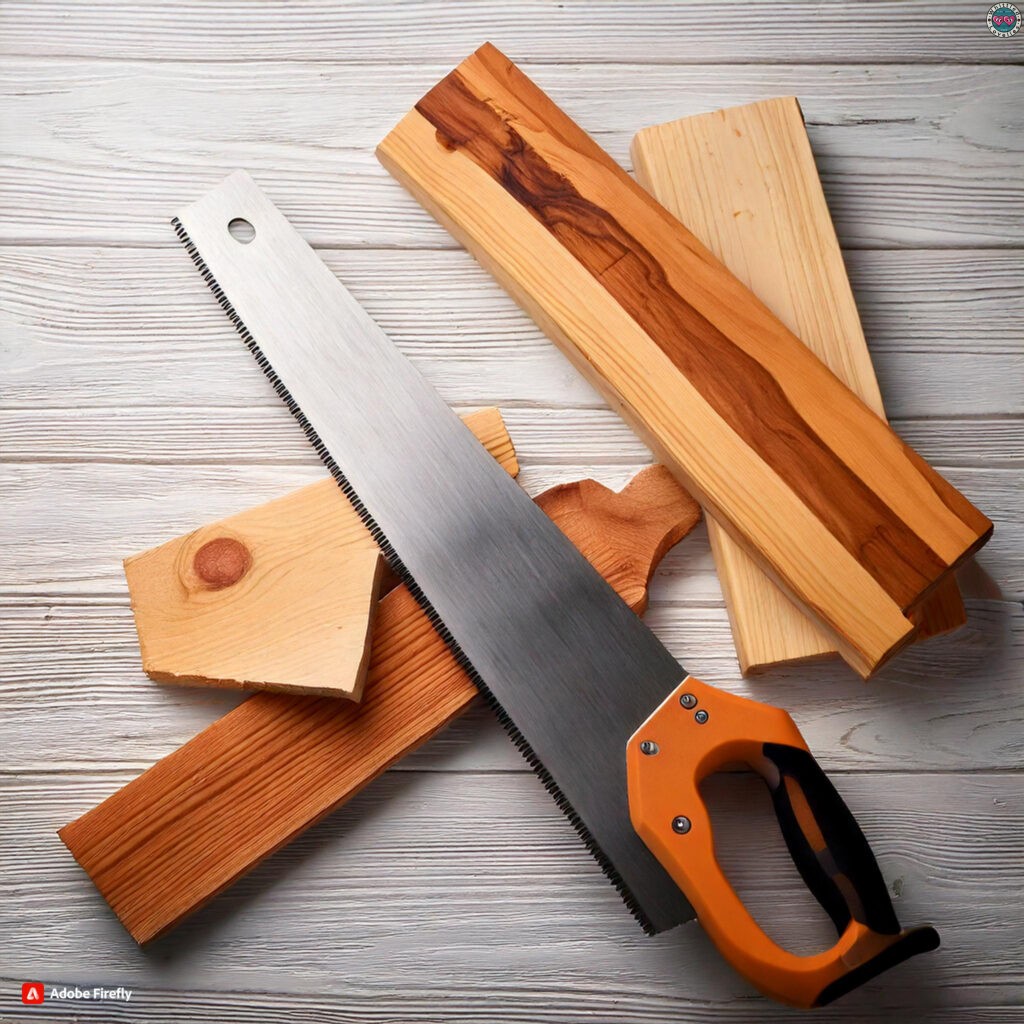
With one of the slats you’ve removed, make a straightedge: place it on top of the pallet and draw two lines starting from the center and descending at 45 degrees towards the sides. If you want a straight tree, try not to eyeball everything. Once you’ve drawn the shape, take the saw (jigsaw or plunge saw if you want to be professional; a handsaw works fine too) and cut away!
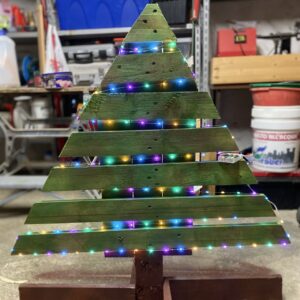
You’ll be left with a nice big triangle: that’s the outline of your tree. Oh, and where you removed the slats, the central slat of the pallet remains: that’s the trunk. The remaining side slats will form the branches.
Reinforcing the Structure:
Because No One Wants an Unstable Tree
At this point, the tree is made, but the horizontal slats (the branches) are no longer as firmly attached as before. When you cut, you eliminated the anchoring points of the side nails, so now they’re held only by the central vertical slat. To prevent the slats from moving or, worse, detaching, you need to reinforce the structure.
Use two of the slats you removed at the beginning. Position them vertically, one to the right and one to the left of the central slat, and secure them with screws or nails. This step is crucial to make the tree stable and compact, especially if you plan to decorate it with lights and ornaments.
Building the Base:
A Solid Cross
A tree that doesn’t stand up is useless. Take a couple of leftover slats and create a base. Attach one to the bottom of the central slat, making it protrude forward, and another outward to the left. You can add a third to the right, and maybe a fourth to form a cross.
This stand ensures that the tree doesn’t wobble and remains stable even if someone bumps into it or with a gust of wind. Take a good look at how I did it in the video so you understand better!
Coloring:
Simple but Impactful
Now comes the creative part, if we can call it that. I used spray cans: one forest green and one mahogany brown. First, give a nice coat of green over the entire surface. Use the brown for the trunk and maybe some details or mix it to create shading.
If you’re making it for outdoors, remember to use the wood preservative first. Once dry, move on to the paint and then the protective sealant. I know, it’s a hassle, but better to spend an extra hour now than end up with a crumbling tree halfway through the holiday season.
Decorations:
Bring Your Tree to Life
The final step: decorating. Here, let your creativity flow. I used a string of LED Christmas lights, arranged in a serpentine pattern on the branches. You can place them only on the edges, wrap them around the entire structure, or create a luminous design. Add balls, bows, or wooden decorations if you want, but leaving it minimal has its charm too.
Final Thoughts:
Why It’s Worth Doing
It’s a project anyone can tackle: quick, cost-effective, and visually striking. You’ll create a one-of-a-kind Christmas tree that you can customize however you like. Plus, let’s face it: there’s something incredibly satisfying about making something with your own hands and seeing it come together beautifully. And if you’ve got time left over, you can always brag about it to your friends.
At the end of the day, this little project gives you more than just a Christmas tree. It’s a piece of work that speaks to your creativity and effort. It’s unique, eco-friendly, and affordable. And honestly, can you beat the feeling of saying, “I made it myself”? It doesn’t have to be perfect—the fact that it’s yours is what makes it special.
So, what are you waiting for? Grab a pallet, pick up a hammer and saw, and get to work. When you’re done, you’ll have a tree that gets people talking and a productive afternoon well spent.
Merry Christmas and happy DIY-ing!
So, what do you think? I personally love how this project combines simplicity with creativity. A bit of wood, a splash of paint, and a little effort can turn an ordinary pallet into a stunning Christmas tree. You don’t need fancy skills or equipment—just follow the steps, take your time, and enjoy the process.
What I appreciate most about this project is how it blends practicality with personality. It’s not just a decoration; it’s a story. Your story. Every cut, every brushstroke, and every little imperfection is part of what makes it unique. And if you want to make it even more special, involve your family or friends—it’s a great way to create memories together.
As always, thank you for reading, and have a Merry Christmas and lots of fun with your DIY projects! 🎄
P.S. If this project isn’t quite what you had in mind for this year, why not check out Takahama’s project from last year? You can find it here! And hey, don’t forget—we’ll see each other here again next month! 🤗😘
Super simple Christmas decoration!
This is an article written by a human for humans!
All articles in the blog are written by me. No contributors, no people paid to write content for me.
Posts written by guests or friends of the blog are marked under the title with the words “guest post.” These are friendly collaborations, contributions to the carving community.
No AI (artificial intelligence) support is employed in the writing of blog articles, and all content is made with the intent to please humans, not search engines.
Do you like my content?
Maybe you can consider a donation in support of the blog!

Click on the link Ko-fi to access a secure payment method and confidently offer me coffee or whatever you want!
From time to time, in articles, you will find words underlined like this, or buttons with the symbol 🛒. These are links that help deepening, or affiliate links.
If you are interested in a product and buy it suggested by me, again at no extra cost to you, you can help me cover the costs of the blog. It would allow me to be able to give you this and much more in the future, always leaving the content totally free.


