Christmas decorations:
let’s design them together!
Published on: November 12, 2021
Reading time: 13 minutes

Christmas is approaching and with it comes especially the time when we start to get crazy looking for an original idea to make our Christmas gifts. This is the time when everyone’s creativity reaches its peak, especially for gifts, but also for Christmas decorations. At home or out in the garden, the important thing is that you breathe the air of celebration!
I love Christmas, it is one of my most favorite holidays ever. Every year I look forward to the time to put up the lighted decorations in the yard and I also have to admit that in the house, Rudolph the reindeer, stands in plain sight all year long!
Creating emotion
As Vladimir of Home Wood Spirit said in his interview (link here):
Wood Carving and Whittling is fun and creative hobby which provides us with hours of very well spent time. It also brings us pride and deep satisfaction from what we make. It has the power to connect us with our ancestors who, kept this tradition and craft alive for more than 11000 years from first civilisations on Earth. Beside all of that above we make really nice handmade gifts, which are usually the most appreciated and makes the recipient truly happy.

The expression of amazement and disbelief that is drawn on the face of those who receive a gift handmade by us is priceless! If you have never experienced this emotion this is the perfect time to start! 😍☺️
Maybe it’s my passion for the cartoon image of the reindeer or the chubby face of Santa Claus, the fact is that I’m eager to start the preparations! I want to infect you, so this year I’ll take you with me in my selection and we’ll see together some projects to make sure to impress but extremely simple!
Let’s get started!
First, you must always remember that with time and skill you can do anything, even create wonderful carved pieces for the nativity scene,
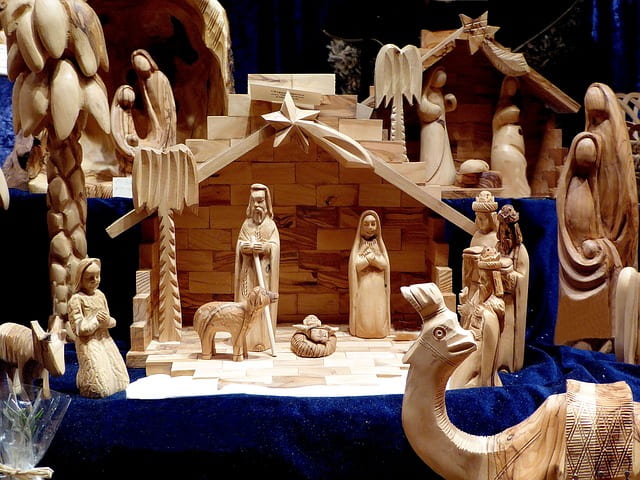
but when time is short and the decorations (or gifts) that we want to prepare are many, my advice is to choose very simple models, to be able to replicate without taking too long, and this magnificence leave it for the really important gifts!
Let’s cut the chitchat!
Let’s get to the heart of the article!!!
Even if you are absolute beginners and this is your first foray into the world of wood or DIY, do not worry! In fact, I have selected some very simple jobs that anyone can perform!
Cute reindeer faces
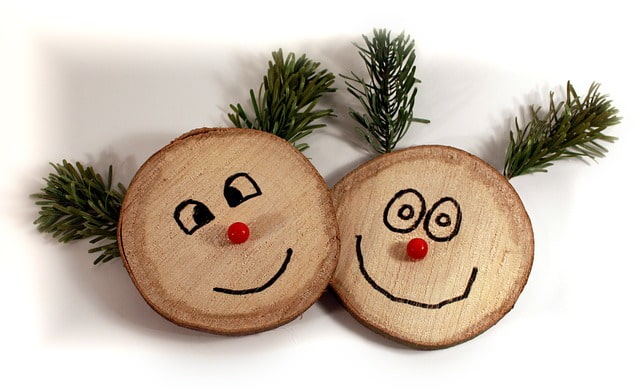
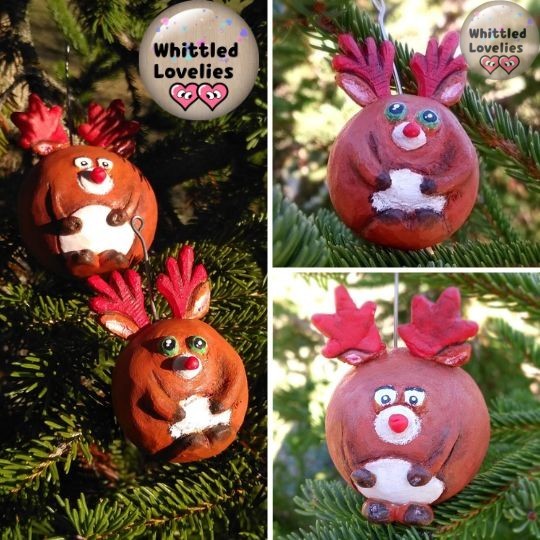
This work, for example, is the easiest ever, you can have fun creating comical expressions and make many different ones, a wonderful pastime also to make your children participate in Christmas decorations!
Fake wooden candles
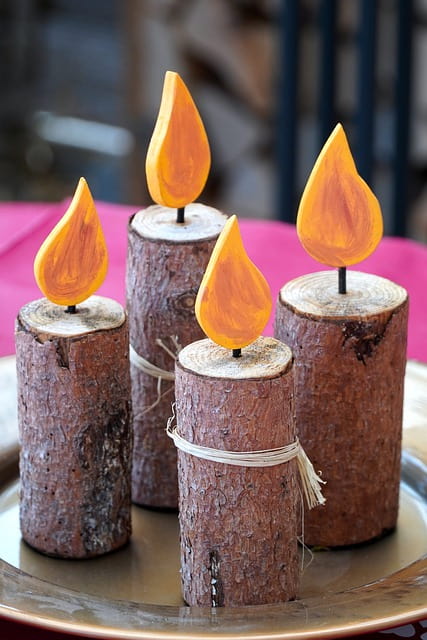
Another very simple Christmas decoration of sure scenic effect, to be used both at home and in the garden, very fast to make.
What’s Christmas without the gingerbread man?
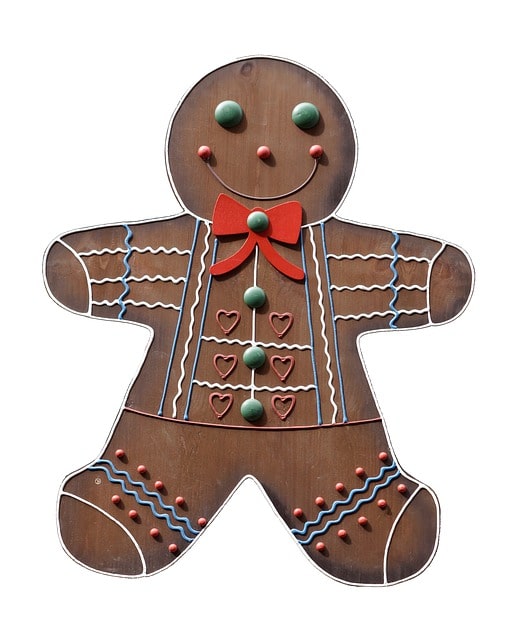
Going up small steps of difficulty here we are at the inevitable traditional Gingy! Unlike the previous two jobs, this one is primarily based on a drawing. Therefore, to help you, I created the drawing that you can download, print and apply on the wood, or if you prefer to use as a false line to create your own design.
Clothed reindeer

Here, for this Christmas decoration we enter a little bit in the carving area, but don’t worry, making them will be much easier than you think! For the design, as in the previous work, I’ve already taken care of it, here it is, ready to download and print!
Reindeer with pedestal
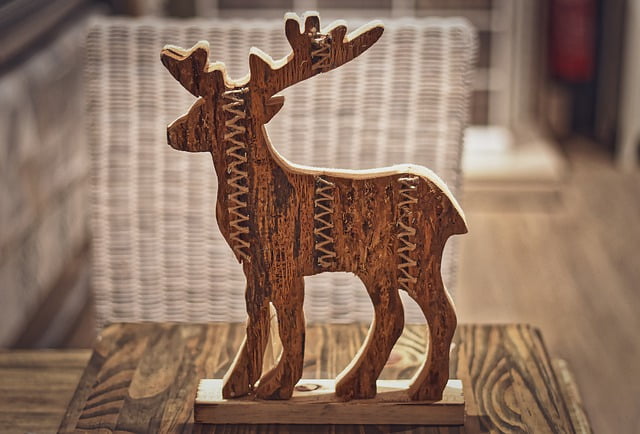
Staying with the reindeer theme, this project is perhaps even simpler as it doesn’t involve carving but you just need to precisely cut out the wood. Again, the biggest difficulty is in the design but here it is already done for you! 😎
Since it is a project that lends itself to different stylized shapes here are two, the first is the reindeer design you see in the photo and the second is a design of a more dynamic reindeer as it is jumping.
All in all, the difference in preparation is only that the jumping reindeer needs a pedestal of greater weight and balance as it stands glued with only its hind legs.
Garden Reindeers
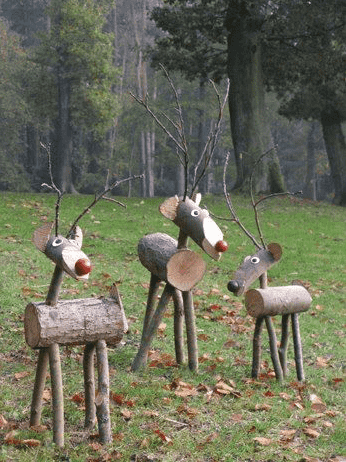
I don’t know if it dawned on me and I don’t know about you, but for me a Christmas without reindeer is not a real Christmas 😍, so let’s end the saga of these cute animals on a high note with these fabulous reindeer for the garden made from pieces of logs and branches.
Since not everyone is lucky enough to have a garden to place them in I’ve put together a little photo tutorial to recreate a very nice home version 😌.
How to do it
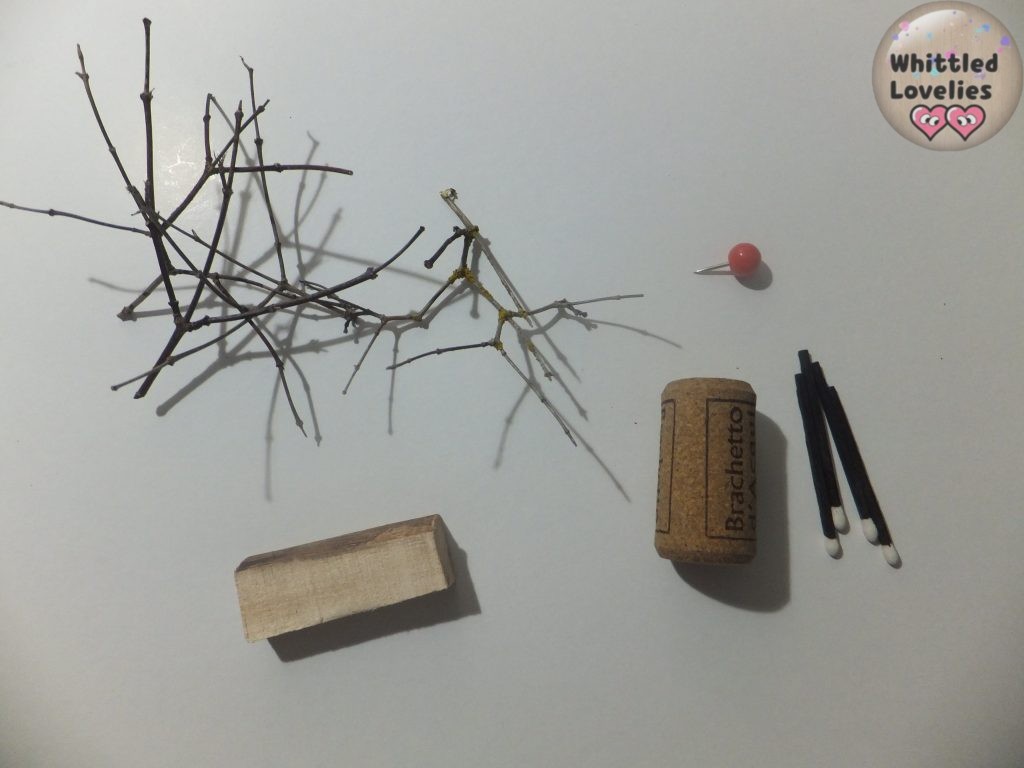
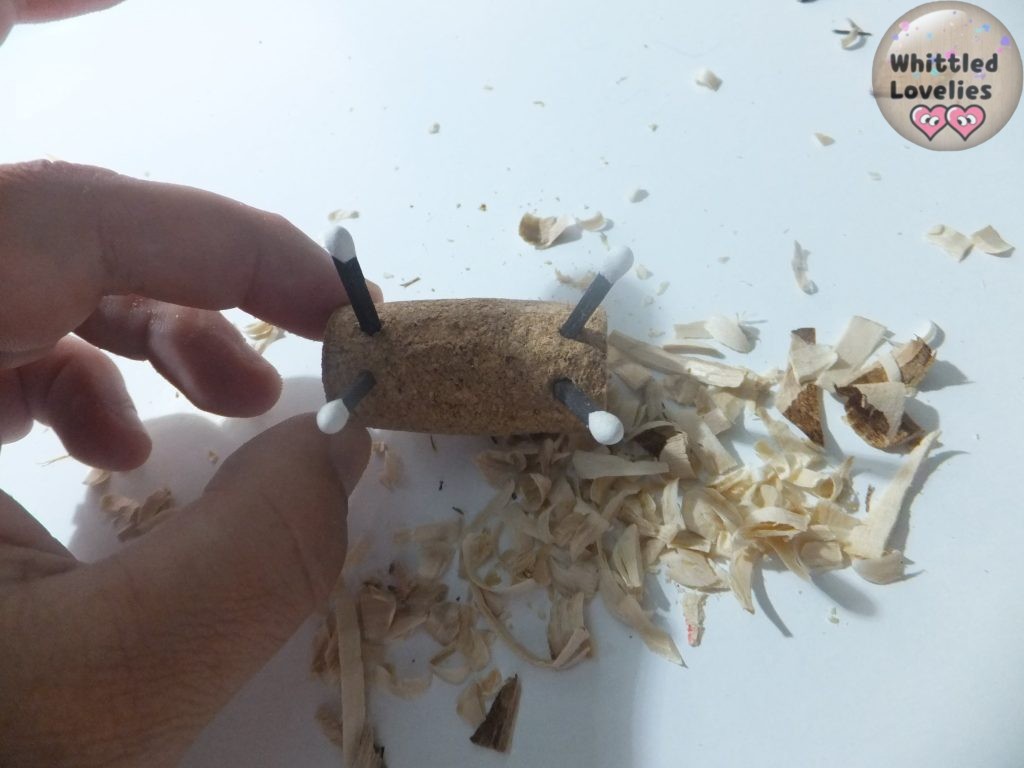
- Here are the materials we need for this photo-project: a cork, a piece of scrap wood, 4 matches, a pin and two compound twigs.
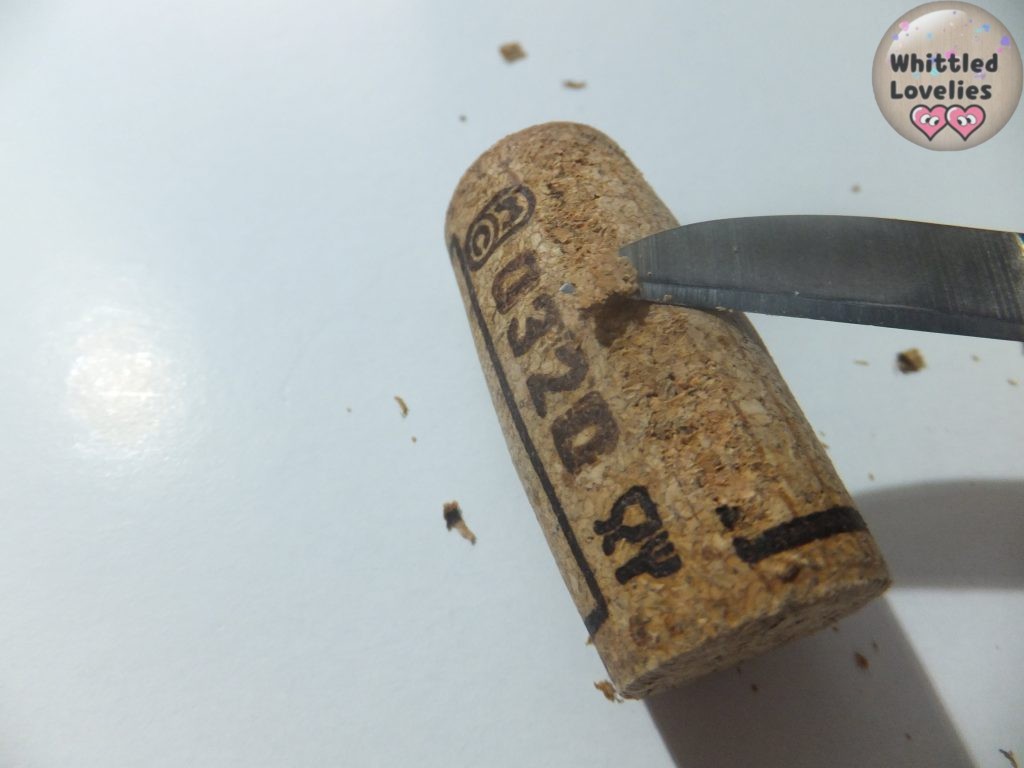
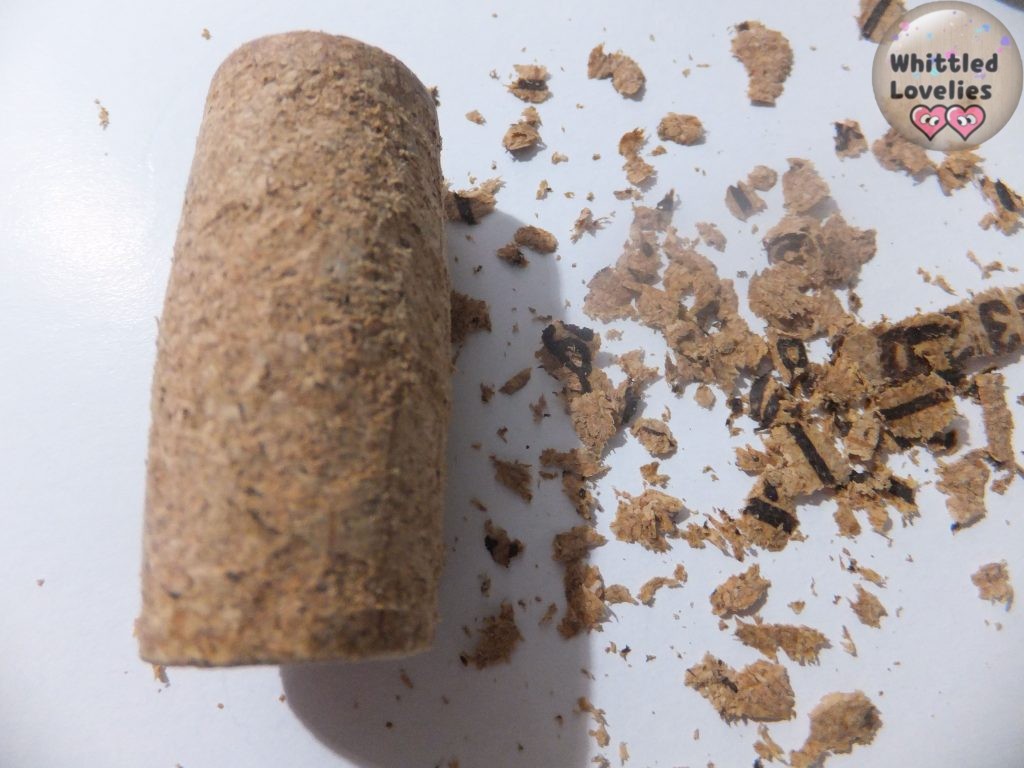
- Normally corks have winemakers’ names and other information imprinted into the surface. For a better result I removed them with a knife.
- Please be careful to remove the inscriptions without going too deep or creating holes in the surface, we try to leave it homogeneous as in the photo.
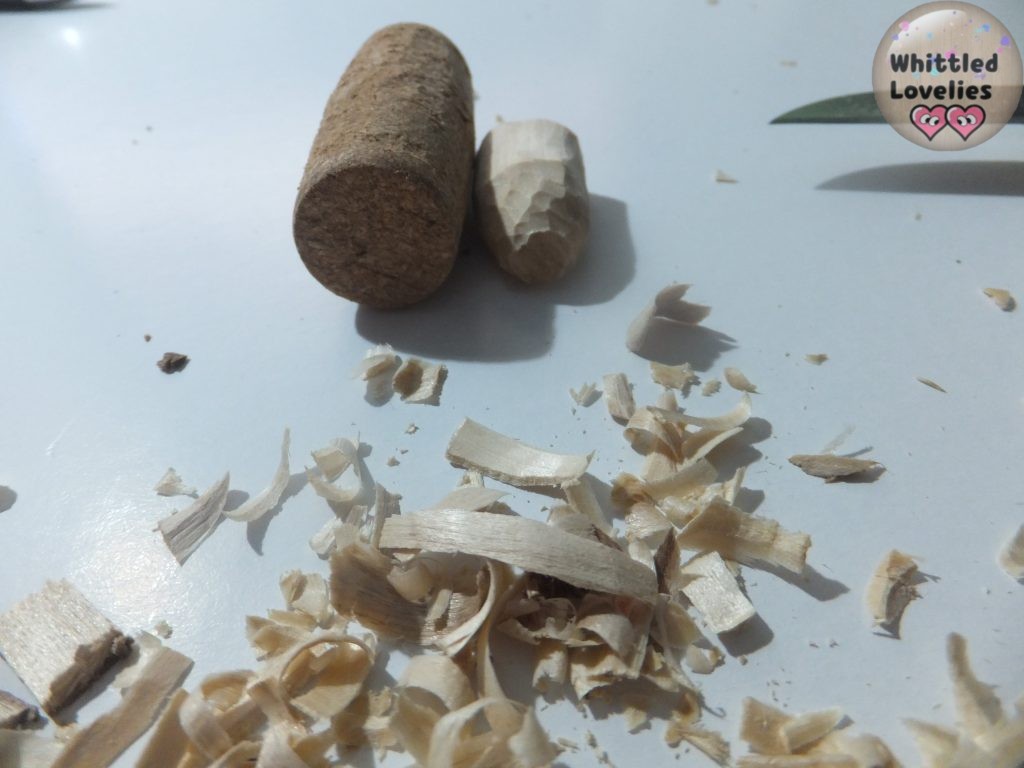
- I take the scrap wood that should be about half the size of the cap and shape it in this way, leaving a flat part and creating a tubular snout that goes down to the tip. For this operation we must figure that in the smooth part we will make the eyes, the nose will be applied towards the tip but must have enough space to enter with the pin, support, without remaining in sight the metal, the red plastic and finally leave a little space for the mouth.
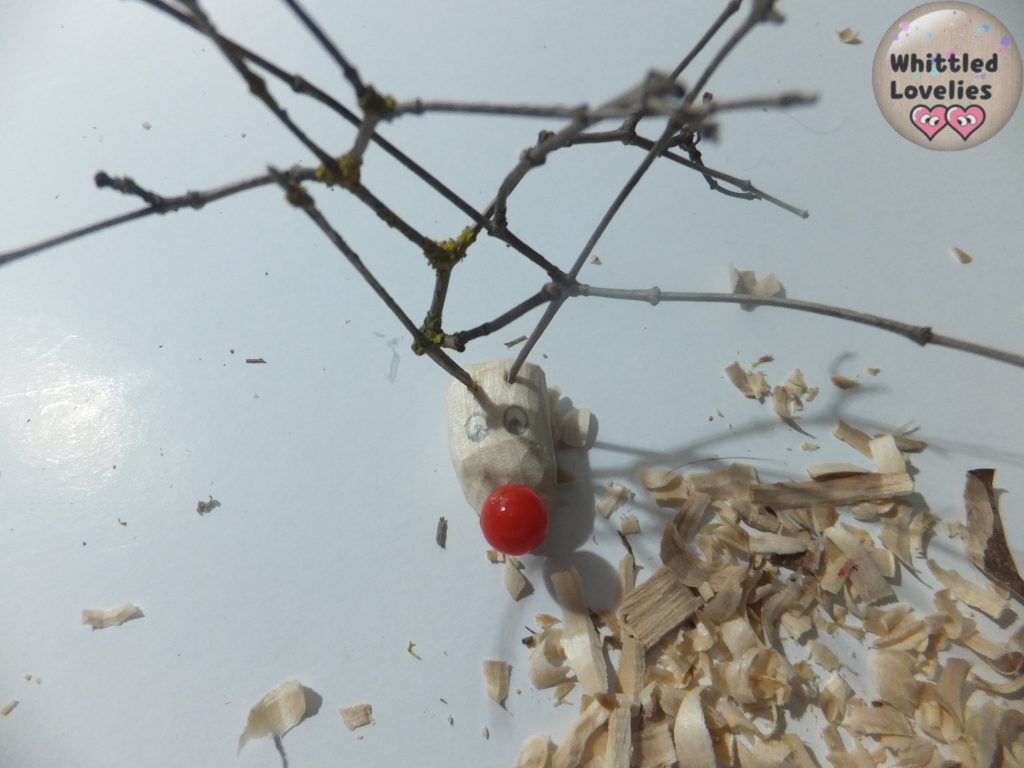
- I inserted the pin in the lowest point of the muzzle, so as to leave a small part for the mouth. The pin is inserted diagonally to stay high above the muzzle but following the shape. I drew the eyes. Drilled two holes on the head, toward the end of the piece, with a nail bit (or with a drill like the Dremel and a very fine bit) and tested if the compound twigs would fit. I drilled a hole at the eyes, obviously on the opposite side, where the matchstick that will serve as the neck will go in.
- I take the cap back and turn it upside down. I make 4 holes, always with the awl or drill, calculating a diagonal as in the photo. The holes should not be very deep 5 mm will be sufficient. On the opposite side I make another hole that will be used to fix the head. I insert the matches to make the legs. If you had an eye for making the hole you won’t need glue, if not put a drop of glue on the matches before inserting them. I cut them off about an inch, see what height you want to keep.
- Now I insert a small piece of matchstick into the hole on the cap, on the back, and with a drop of glue on the end then I joined it to the hole in the head. Next I inserted the twigs into their holes, again with a drop of glue. With some wood shavings I made a pigtail and two small ears, applied with glue. I colored the eyes with a little acrylic paint.
- Here is my Christmas reindeer ready to run in the snow!
Good Luck Owl
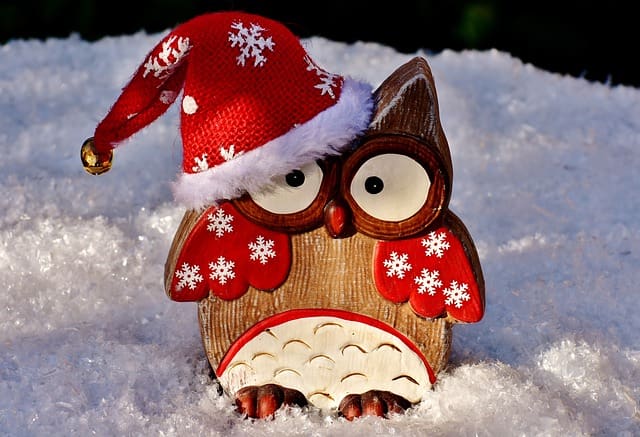
We conclude this series of ideas on Christmas decorations, which can also be a welcome gift, with an ever-present good luck owl! Again, for this work the greatest difficulty is the design and also in this case, you can find it below nice and ready to be printed.
There are two main approaches to this work: a very simple one that involves only cut and paste, and a more creative one that can be done with a knife and gouges to create the reliefs of the glasses and wings.
If you’re still not satisfied, my friend Cousin Jack just made a video on how to create a cute and very simple Christmas decoration, maybe this tutorial will give you the right sprint to start your own projects!
Or how about creating cute and simple Christmas balls? I’ll leave you the link to the article!
How to make cute Christmas balls
Or are you looking for an easy diorama to create this Christmas? This one is fun, simple, and perfect for everyone to make, display, and enjoy!
Tutorial: Christmas 2023
And don’t miss the PREQUEL to find out what happened! You can check it out here!
The Big Reveal: The Christmas 2024 Diorama You Can’t Miss!
And here we are at the end, now I can not wait to read your comments but especially to see your work or how you decorated your home for Christmas. I look forward to your photos or videos in the facebook group of Whittled Lovelies, Showcase woodcarving group.
I hope this article has been useful and has entertained you and….
Let the Christmas season begin!
Ciao! 😘😘
This is an article written by a human for humans!
All articles in the blog are written by me. No contributors, no people paid to write content for me.
Posts written by guests or friends of the blog are marked under the title with the words “guest post.” These are friendly collaborations, contributions to the carving community.
No AI (artificial intelligence) support is employed in the writing of blog articles, and all content is made with the intent to please humans, not search engines.
Do you like my content?
Maybe you can consider a donation in support of the blog!

Click on the button or on the link Ko-fi to access a secure payment method and confidently offer me coffee or whatever you want!
From time to time, in articles, you will find words underlined like this, or buttons with the symbol 🛒. These are links that help deepening, or affiliate links.
If you are interested in a product and buy it suggested by me, again at no extra cost to you, you can help me cover the costs of the blog. It would allow me to be able to give you this and much more in the future, always leaving the content totally free.




Sara, Thank you so much for including my “Holli” ornament video. I hope it helps bring joy during the holiday season! Cousin Jack
My pleasure, your videos are always beautiful and interesting! I’m sure our decorating tips will be appreciated, and the decorations will look great in any happy home!