Camping box:
how to make it
Published on: February 16, 2023
Reading time: 4 minutes
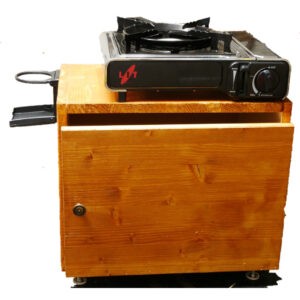
Hi all guys!!! Have you ever thought about how to make a camping box all by yourself? You’ll find out how to make it shortly as we expand the DIY category today, inaugurating the first article in Takahama’s DIY saga!
As promised by the banner that had appeared on the blog in December, every three months there will be a special article on DIY, Do IT Yourself, or said in Italian FAI DA TE. It seemed only right to broaden the horizons of the blog, since the motto is: for 360 degrees wood lovers!
And thus was born this collaboration with a blog fan and now friend, known on Instagram as @Takahama23, who dabbles in various projects between carving and DIY and describes them in his new YouTube channel.
But now let’s get to the core of the article and find out how to create a camping box!
First of all, let’s set it up. The basic idea of this project is to create a box for solo campers, since as a size it fits inside almost any car placed on the ground in front of the main passenger seat.
In any case, it is possible to make it more social and use it even in an RV or more simply in the trunk of the car without clogging it.
Dishes, food, spare cylinders, anything that needs a safe, compact, and clean place can be stored inside.
Once you reach the camping place you can pull it down and use it as a base for a stove, or as a small table avoiding carrying many things with you.
Let us now see in detail what we need to build our special camping box:
Do you have everything? Let’s get going!
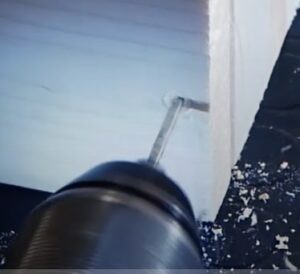
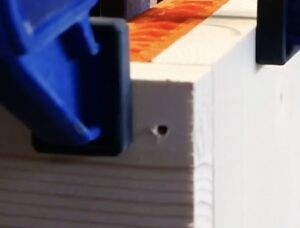
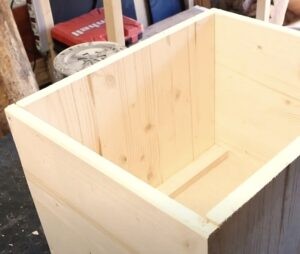
- We begin to assemble the camping box by securing all sides with screws. To make it easier to insert the screws, drill a small hole slightly smaller than the diameter of the screw with a power screwdriver or drill.
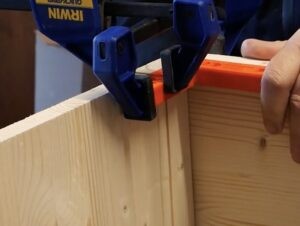
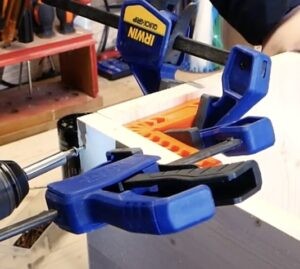
- For convenience and to ensure the perfect position of the planks, we use 90-degree brackets in the corners, held strongly with clamps.
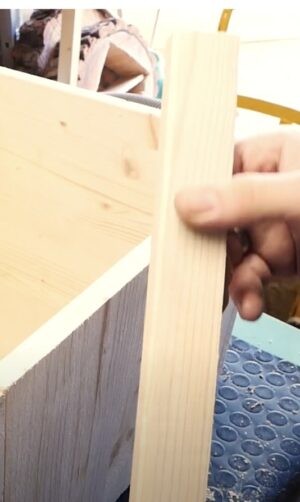
- Once all sides are secured, we insert, at the top, a wooden lath of perfect size. Let’s fasten it to the sides. This will give more stability and strength to the camping box.
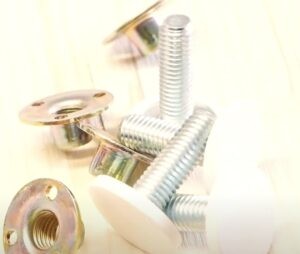
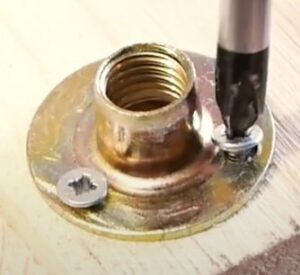
- We move on to mount the feet. On the four sides of the bottom we fasten with screws. We insert the foot and screw up to the desired height.
- We insert a handy knob into the panel that will become the door handle. Note that it was intentionally cut smaller than the box size. This is in case it will serve as a support for a stove, so it will also allow wires to pass through.
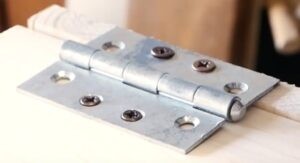
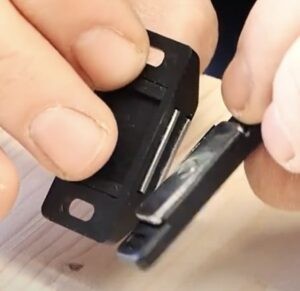
- Now we mount the door with hinges, also secured with screws. We insert, then, a magnet that will ensure a comfortable closing of the door and we are done! The camping box has taken shape!
- A generous coat of water flatting to protect it from moisture, but only on the outside to avoid odor and contamination in case you want to store food there.
- Mounting, as in the video, one or more practical folding cup holders is a small utility to save table top space, or use it in the car while traveling if placed in front of the passenger seat.
This is it!
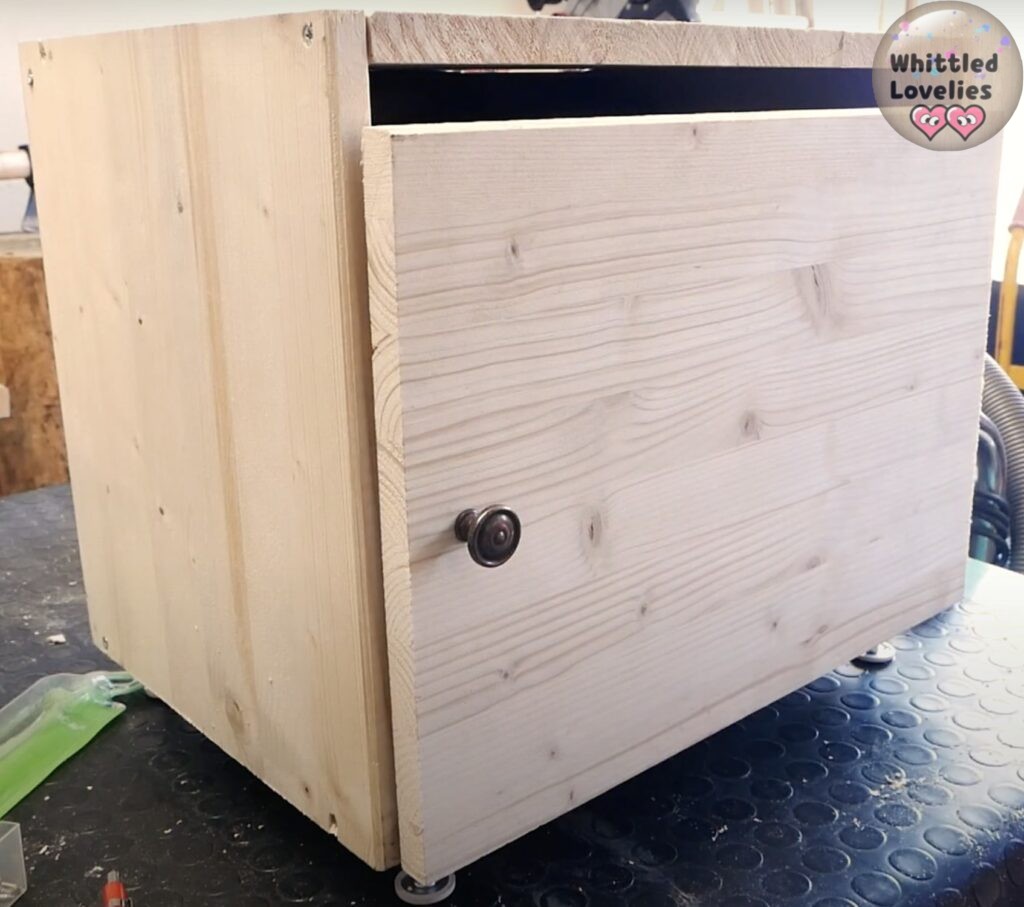
And here is our first ready-to-use project. Simple, practical and fast. In a few hours you will be ready to set off on your camping box adventure!
Nothing detracts from also using it at home or in your garage to store important items. Even to add a small inner shelf, if you do not need to use the whole height of the box otherwise.
In short, an easy and versatile project that gradually introduces you to the world of DIY, so affordable for everyone!
I will leave the video created by Takahama here, so you can follow the step-by-step tutorial I have briefly described here.
Let me know, as always, if you enjoyed this project or found it useful. You can also suggest what you would like to see as your next project, maybe the good Takahama will be happy to build it for us!
In the meantime, why not go browse another article by Takahama: how to build a portable chip barrier? See you soon! 😘😘😘
This is an article written by a human for humans!
All articles in the blog are written by me. No contributors, no people paid to write content for me.
Posts written by guests or friends of the blog are marked under the title with the words “guest post.” These are friendly collaborations, contributions to the carving community.
No AI (artificial intelligence) support is employed in the writing of blog articles, and all content is made with the intent to please humans, not search engines.
Do you like my content?
Maybe you can consider a donation in support of the blog!

Click on the button or on the link Ko-fi to access a secure payment method and confidently offer me coffee or whatever you want!
From time to time, in articles, you will find words underlined like this, or buttons with the symbol 🛒. These are links that help deepening, or affiliate links.
If you are interested in a product and buy it suggested by me, again at no extra cost to you, you can help me cover the costs of the blog. It would allow me to be able to give you this and much more in the future, always leaving the content totally free.

